Adding a Device Template
This page will help you add a new device template.
Medical devices differ in their intended use, and therefore in the kind of attributes you want to use for describing them. You should have a Device template for each type of device you want to connect to BioT.
ImportantIf this is the first device type you are adding, you should edit the "Device Type 1" template before adding a new Device Template (see Editing a Device Template).
Follow the procedure below to add a new device template.
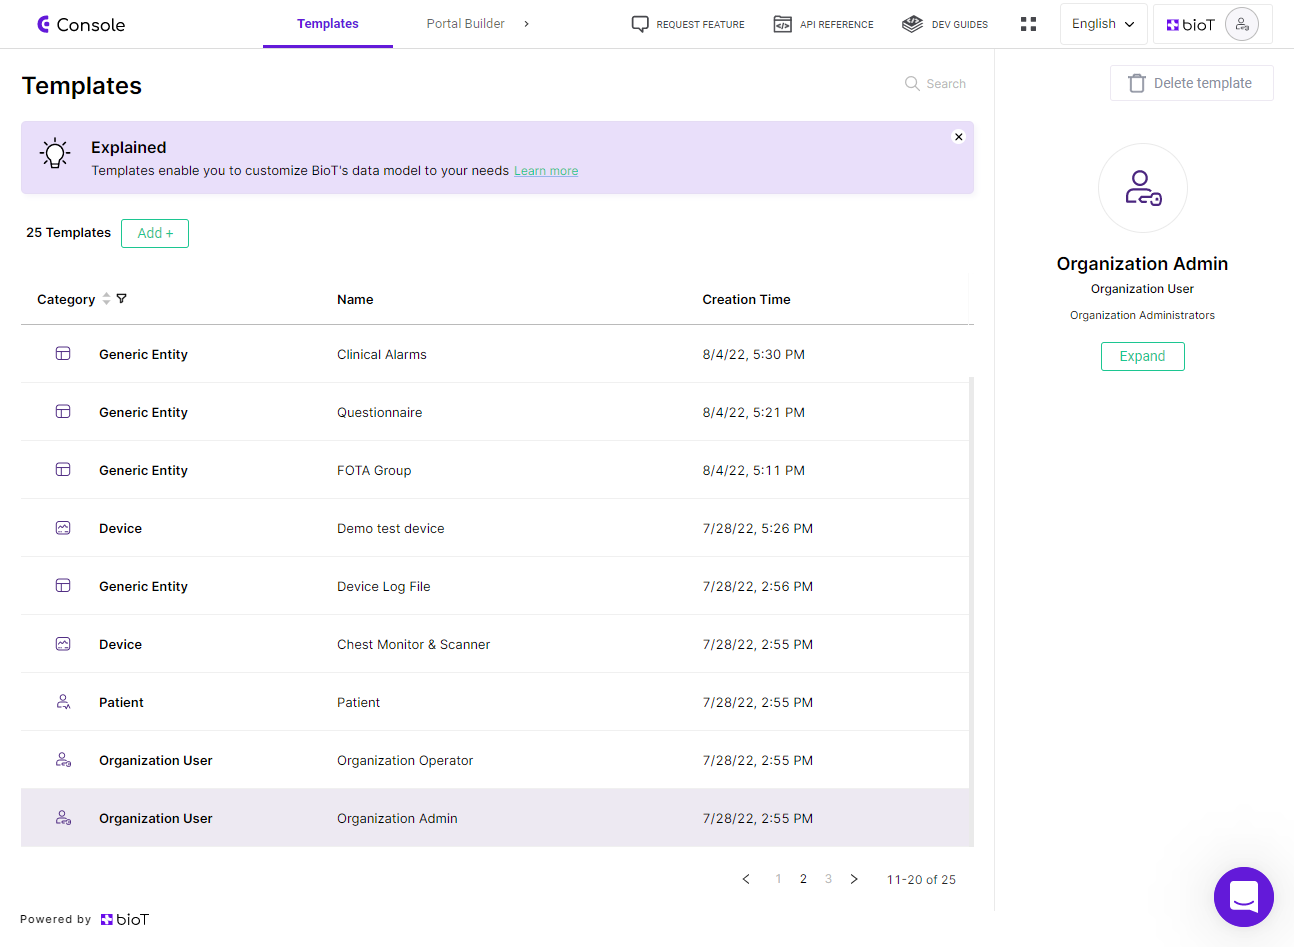
Step 1 - Templates Tab
- Launch the BioT Console.
The console opens on the Templates tab.
- From the Templates tab, click Add+.
- Select the Device template type from the dropdown menu.
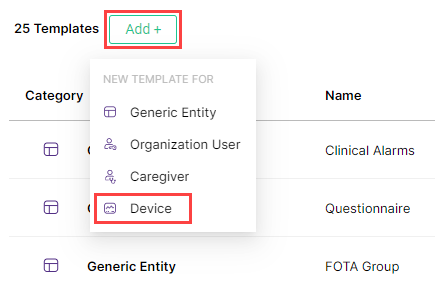
Add Device Template
Step 2 - Overview Tab
- Add a name and optional description for the template. Use a template name that reflects the device type ( for example, "Glucometer").
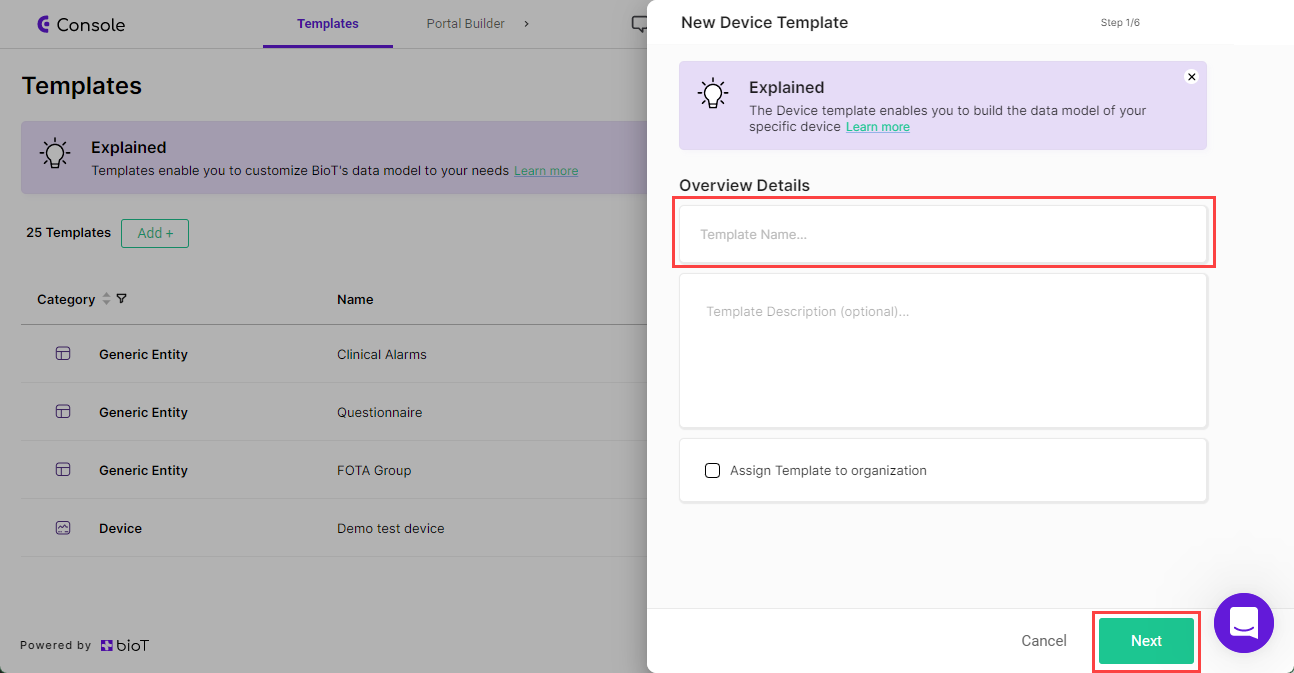
New Device Template Overview
- Click Next.
Step 3 - General Fields
The General fields page is displayed with the list of built-in attributes.
General attributes include data that users want to track about the device, but that does not affect the day-to-day function of the device. For example, one of the General attributes may be a Patient attribute which describes which patient the device belongs to.

Built-In General Fields
NoteYou can click the trash can icon to remove (or disable in case of built-in attributes) any unneeded field from the template.
The following built-in General attributes appear in all new Device templates:
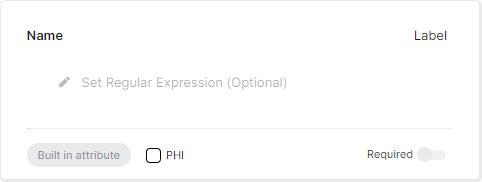
Name
Attribute type: Label
The device name.
Note that if you name the device after its patient, then the Name field contains protected health information, and you should check the PHI checkbox. This field is mandatory and cannot be disabled.

Name Field
Description
Attribute type: Paragraph
If the Name field of the device is not enough for your users to describe the device, use the Description field to elaborate. If you don't need it, click on the trashcan icon to disable it.

Description Field
Unique ID
Attribute type: Label
The unique ID the Manufacturer assigned to the device. Many times this is the serial number of the device. If this is the case, you may rename the field name to “Serial Number”. This field is mandatory and cannot be disabled.

Unique ID Field
Time Zone
Attribute type: Timezone
The time zone the device is generally located in.

Time Zone Field
Creation Time
Attribute Type: Date Time
When the Device record was first created in the cloud.

Creation Time Field
Last Modified Time
Attribute Type: Date Time
When the Device record was last edited.

Last Modified Time Field
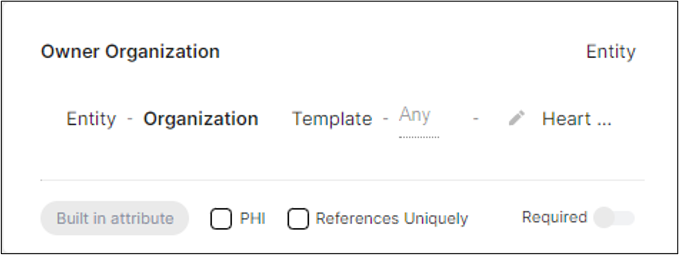
Owner Organization
Attribute Type: Entity
Refers to the Organization that owns the device.

Owner Organization Field
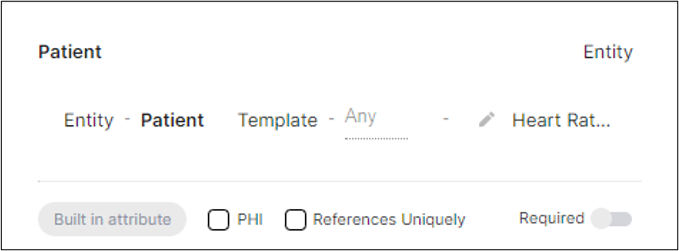
Patient
Attribute Type: Entity
This field shows an example of a permanent connection between a Device and a specific Patient. This is mostly relevant for home use devices, including implants. If your device is not a personal patient device, you may disable this attribute.

Patient Field
Step 4 - Add General Field
NoteYou should only add General fields for attributes of the device itself. Any Configuration or Status fields should be added through the Status or Configuration tabs.
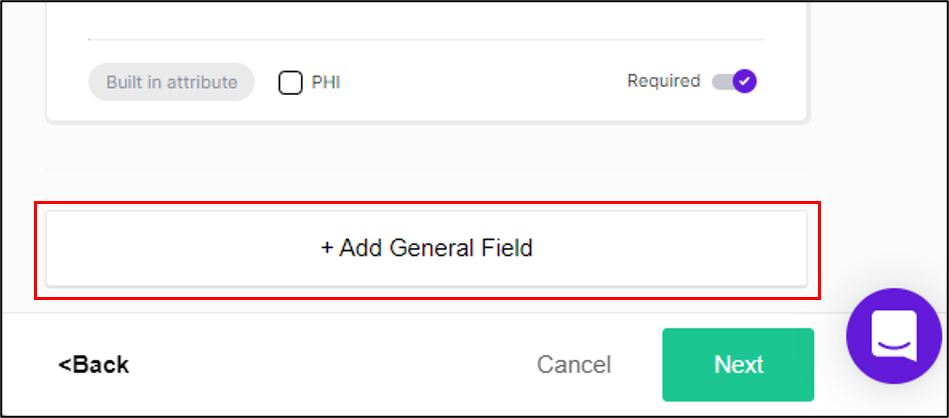
If your users need to track additional device attributes, scroll to the bottom of the General attributes list and:
- Click + Add General Field.

Add General Field
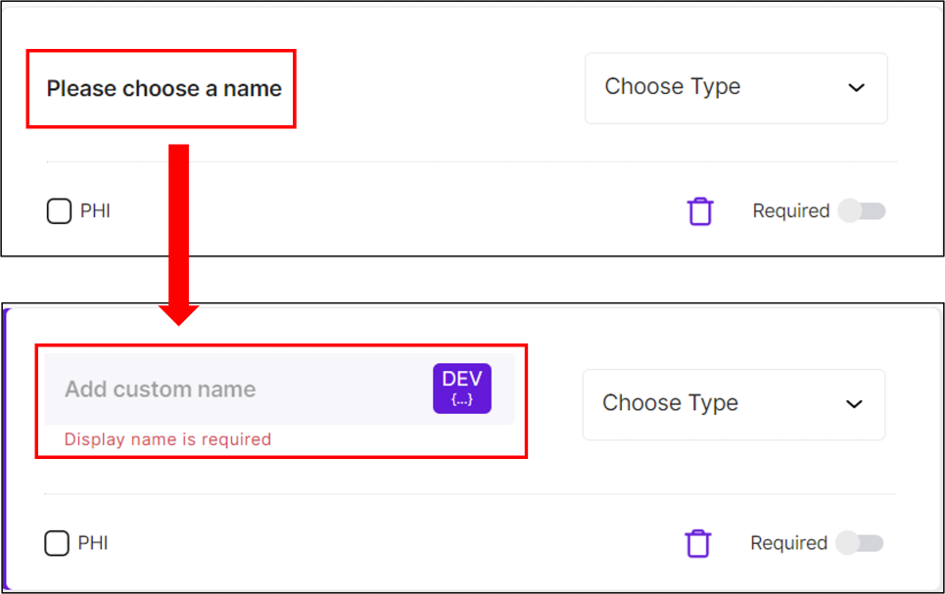
- Click Please choose a name and enter a name for the new field.

Choosing a Field Name
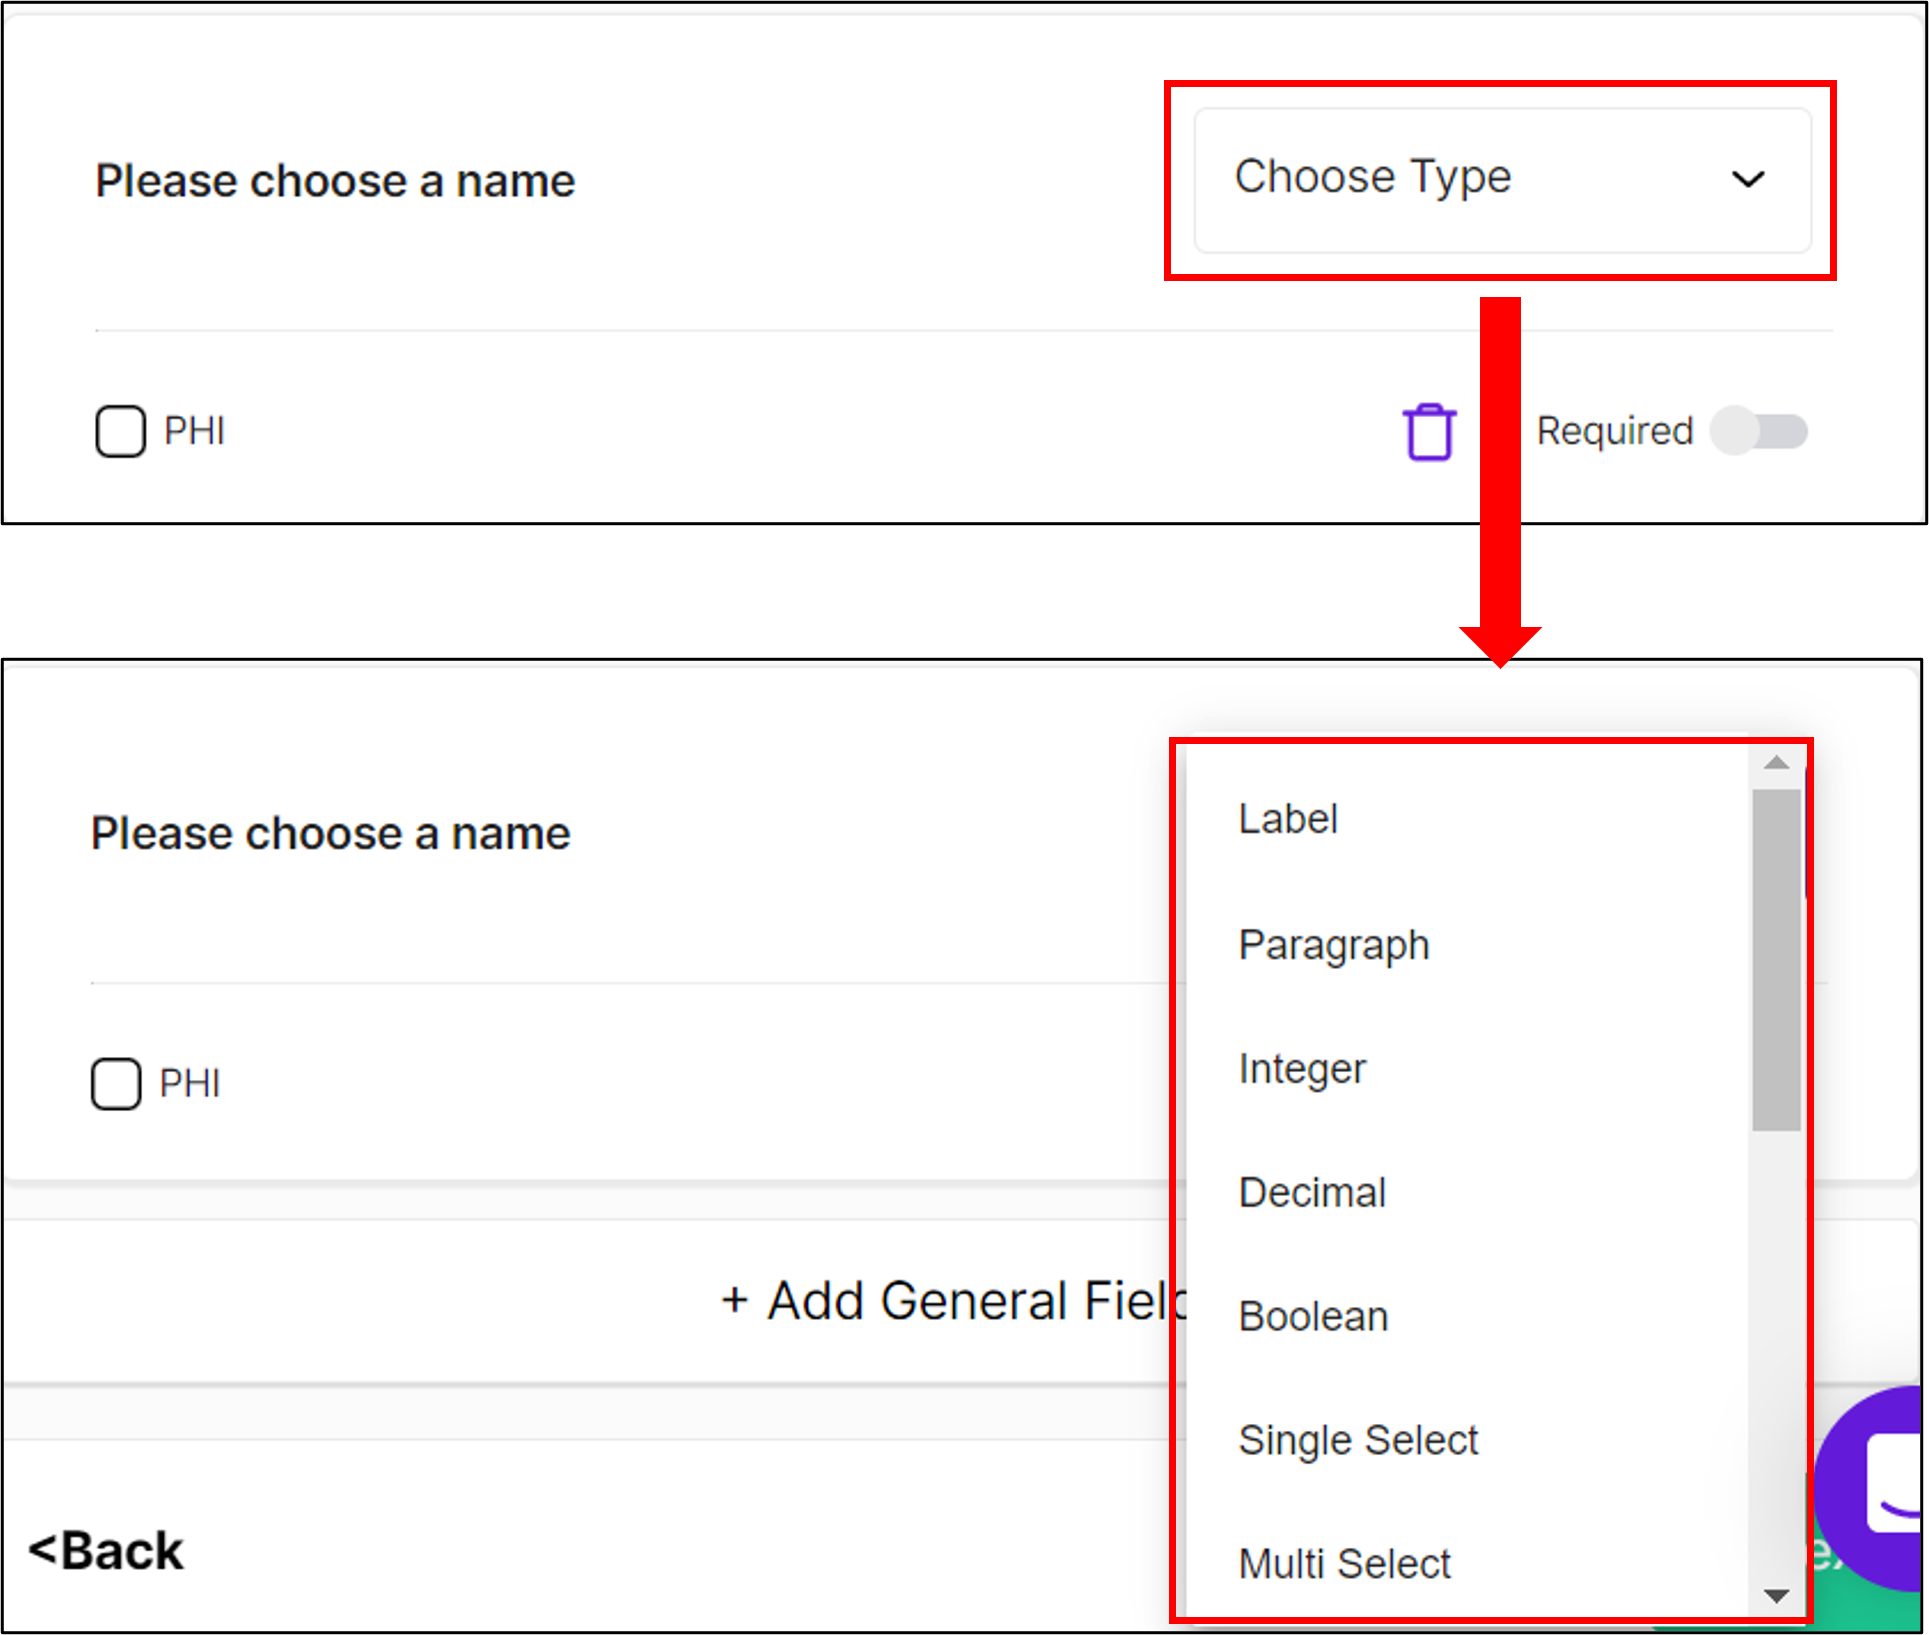
- Click the Choose Type dropdown and select the attribute type from the list (see Attribute Types for a full list of types and their parameters).

Choose Attribute Type
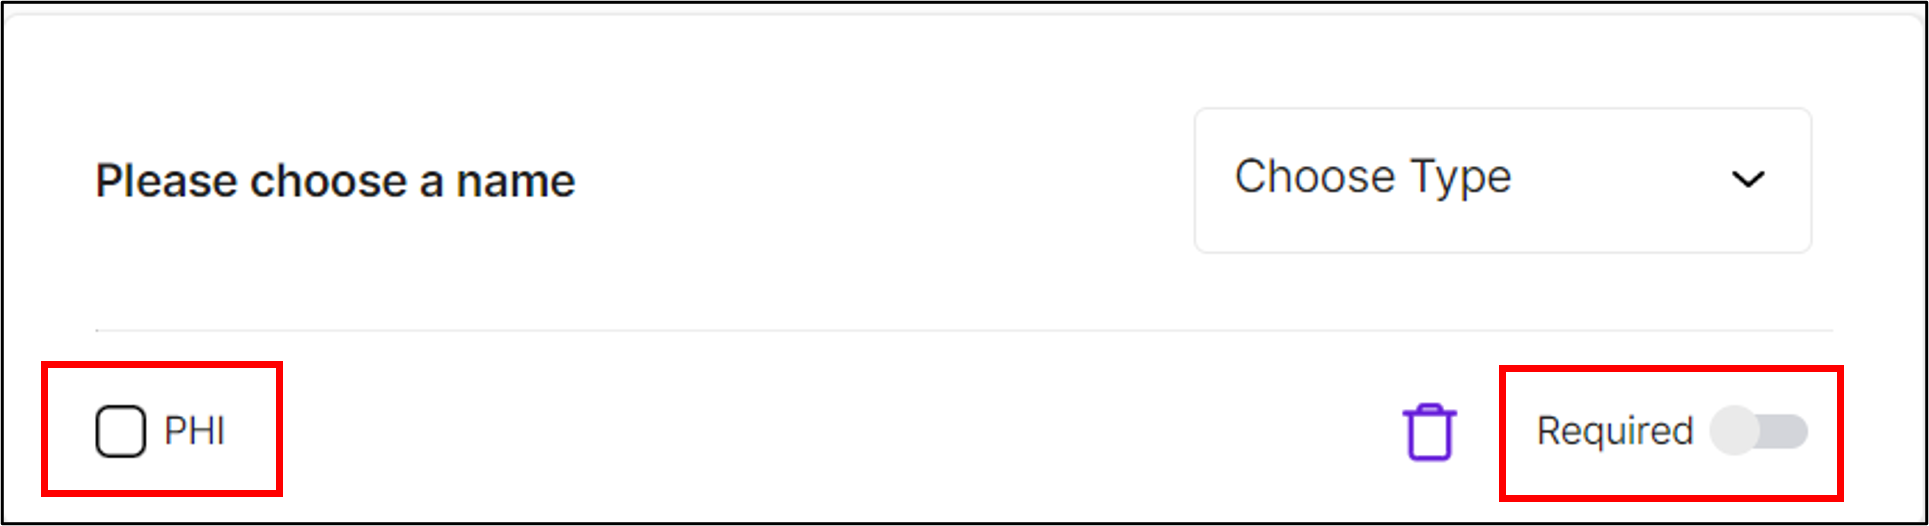
- Complete the remaining parameters for the Attribute Type.
- If the field contains protected health information, select the PHI checkbox. When you do that, BioT adds additional safeguards for the field and refrains from storing or sending it to non-HIPAA Eligible media (e.g. using it in the content of an email) along with patient data.
- For fields you want to define as obligatory, select Required.

PHI and Required
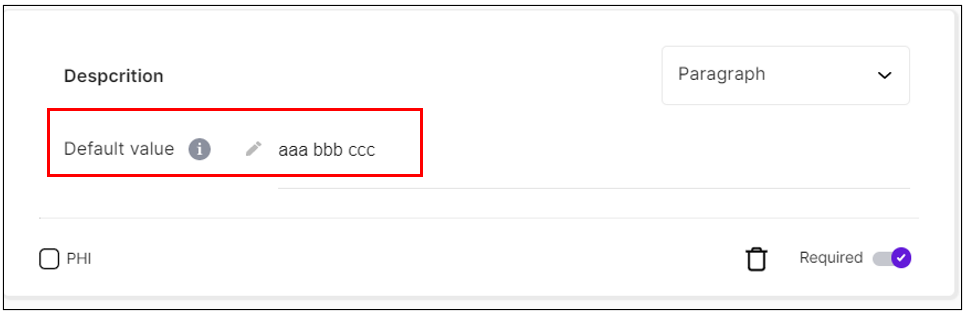
For a field marked as Required, you will be asked to set a Default value. A default value is used when users want to edit the data of an existing device, but there are some details they cannot enter, due to lack of knowledge or any other reason. In this case, they can leave the pre-defined default value and save their changes.
NoteDefault values can be used only when editing an existing device. When users create a new device, they must fill in all required fields with actual values.
For example, when updating a device's data, users might be required to enter a description paragraph about the device. To avoid doing so, they can simply leave the pre-defined default value, demonstrated below.
- Click Next.
Step 5 - Status Fields
The Status attributes page is displayed with the list of built-in attributes.
Status attributes provide information about the device that the device senses on itself or that BioT senses about the device, such as whether or not the device is connected to the cloud, the device’s current operational (malfunction) status, etc. Note that this is NOT the place to define medical measurement fields (these are defined in the Patient template).

Status Attributes Page
NoteYou can click the trash can icon to remove any unneeded field from the template.
FW Version
Attribute Type: Label
The installed firmware version, as reported by the device.
Important!There must be perfect alignment between the JSON name defined for the attribute and the actual JSON the device sends when it reports the status of the attribute. If you want to change the JSON name of the device, you must make sure to change the name of the attribute in the BioT platform as well.

Firmware Version Field with Highlighted JSON Name
HW Version
Attribute Type: Label
The hardware version, as reported by the device.

Connected
Attribute Type: Boolean
Whether or not BioT communicated with the device recently.

IP Address
Attribute Type: Label
The IP address, as reported by the device.

Last Connected Time
Attribute Type: Date Time
The last time the device was connected to the cloud.

Certificate Status
Attribute Type: Single Select
The current status of device certificates. Can be either Not installed, Bootstrap or Permanent. This field is only relevant for devices that connect directly to BioT and not devices that use a gateway (for example a device that connects to a mobile app which in turn connects to BioT). You can remove this field if it is not used.

Boot Time
Attribute Type: Date Time
The last time the device was booted.

Operational Status
Attribute Type: Single Select
The device’s operational status. Can be either: OK, Minor, Major or Critical.

Operational Message
Attribute Type: Paragraph
A message describing the most severe malfunction the device is experiencing now.

Step 6 - Add Status Field
To add a new Status field, scroll to the bottom of the Status attributes list, click + Add Status Field, then follow the instructions in Step 4.
Step 7 - Configuration Fields
After adding any new Status fields, click Next at the bottom of the Status Fields page. The Configuration page is shown.

Configuration attributes provide information to the device about how BioT requires it to set itself up. Examples for various devices may include brightness, fan speed, measurements upload frequency, etc...
NoteConfiguration fields are not populated in the default template. They may be added when you create or edit your template.
Step 8 - Add Configuration Field
To add a Configuration field, click + Add Configuration Field, then follow the instructions in Step 4.
Step 9 - Usage Types
After adding any configuration fields, at the bottom of the page, click Next. The Usage Types page is shown.
Usage Types allow you to specify what kinds of activities each device can perform and the parameters required for each of these activities.
Step 10 - Add New Usage Types
To add a new Usage Type:
- Click + Add Usage Type.

Overview Tab
- The New Usage Type Template page is displayed. Add a name and optional description for the template. Use a template name that reflects the Usage Type (for example, "Heart Rate Monitoring") and optionally change how frequently it is measured (the default is 1000ms). The usage type describes the type of usage and not the content of the usage.

- Click Next.
General Fields
- The General fields page is displayed with the list of built-in attributes.
General attributes include data that users want to track about the Usage Type. For example, one of the General attributes may be a timeframe attribute which describes when the device was last modified.

NoteThe Usage Type Template Name, that is automatically linked throughout the different attributes tabs and appears as the name of the usage type plus usage session, can be edited (select the pen edit logo).
- The following built-in General attributes appear in all New Usage Type templates:
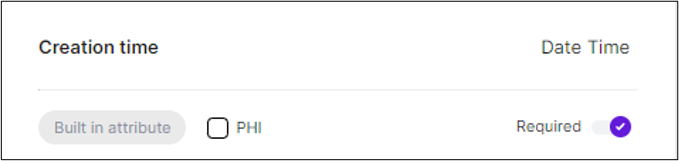
Creation Time
Attribute Type: Date Time
When the Device record was first created in the cloud.
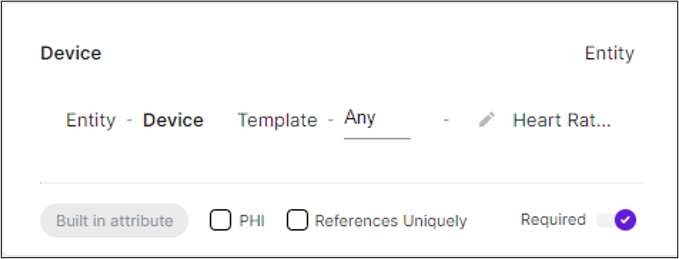
Device
Attribute Type: Entity
Link the usage type to other entities and define whether it applies to all device templates (any) or a specific device template.
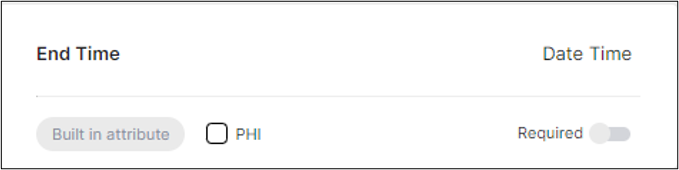
End Time
Attribute Type: Date Time
When the Device record ended.
Last Modified Time
Attribute Type: Date Time
When the Device record was last edited.

Name
Attribute type: Label
The usage type name.
Owner Organization
Attribute Type: Entity
Refers to the Organization that owns the device and defines whether it applies to all organization templates (any) or a specific organization template.
Patient
Attribute Type: Entity
This field shows an example of a permanent connection between usage of the Device and a Patient. Define whether it applies to all patient templates (any) or a specific patient template. For example, if the usage type is Heart Rate Monitoring and it is connected to a Patient template, then all instances of this usage type will be heart rate monitoring sessions performed for that specific patient.
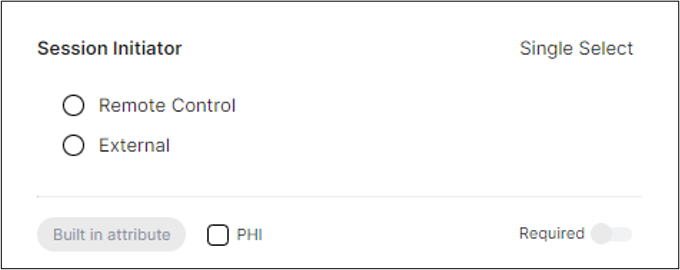
Session Initiator
Attribute Type: Single Select
Refers to how the session was started.
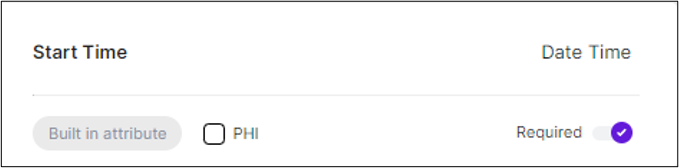
Start Time
Attribute Type: Date Time
When the device record started.
State
Attribute Type: Single Select
The state of the device recording, e.g., active, paused, stopping etc...

- To add additional Device Usage Type attributes, scroll to the bottom of the General attributes list and:
Click + Add General Field.
- Click Please choose a name and enter a name for the new field.
- Click the Choose Type dropdown and select the attribute type from the list (see Attribute Types for a full list of types and their parameters).
Attribute Type: Entity can be used to create a reference link to another entity in the system. For example, linking a Device Log File.
NoteIf the object defined in the Generic Entity is achieved by the device itself, then it also needs to be defined for the Usage Type. For example, the type of device alert is defined in the Generic Entity, then linked to a create device alerts Usage Type.
- Complete the remaining parameters for the Attribute Type.
- If the field contains protected health information, select the PHI checkbox. When you do that, BioT adds additional safeguards for the field and refrains from storing or sending it to non-HIPAA Eligible media (e.g. using it in the content of an email) along with patient data.
- For fields you want to define as obligatory, select Required. (see explanation on required fields in Add General Field
- Click Next
Configuration Fields
Configuration attributes provide information to the device about how BioT requires it to set itself up for the Usage Type.
-
To add a Configuration field, click + Add Configuration Field, then follow the instructions in Step 4.
-
Click Next
Summary Fields
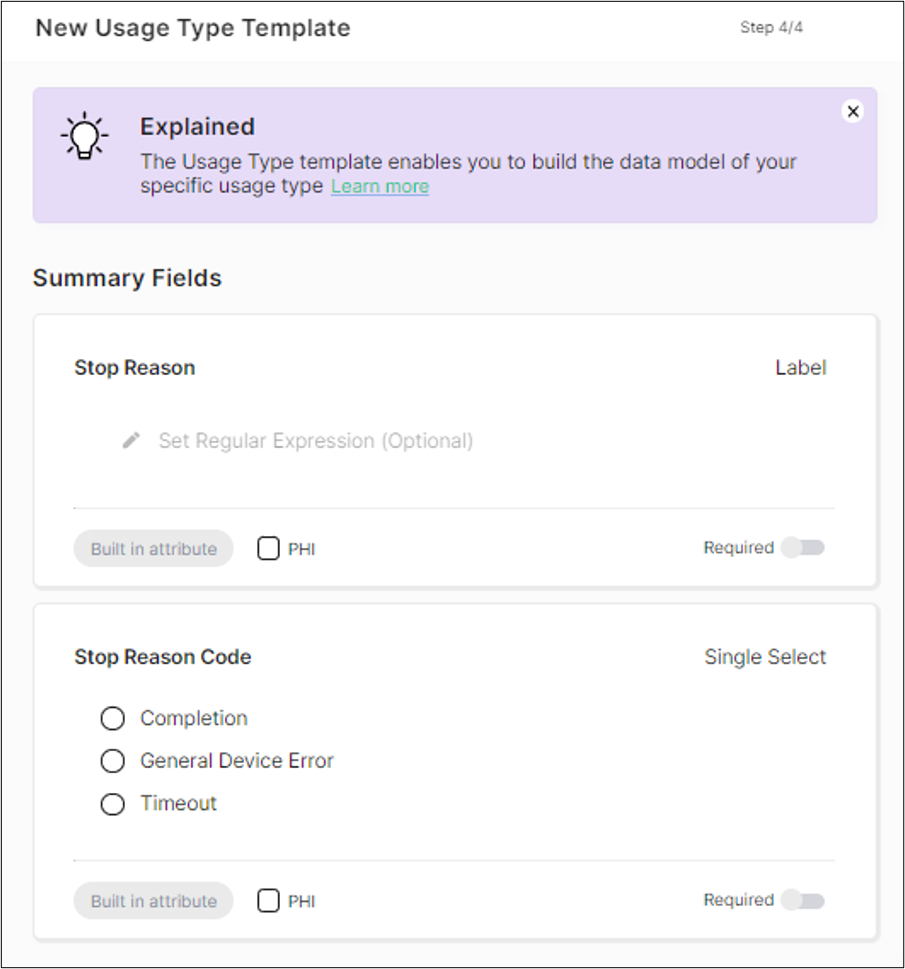
A Summary Field presents an average or variance for each instance of usage of the device. For example, for Usage Type Monitoring, each record will be a summary of the monitoring session.
Summary fields can be used as a reference to an observation field in the form of a data type ‘link’ to establish the connection between a ‘streaming observation field’ (live telemetry) and the concluding or summarizing value of this field for the entire session. For example, live telemetry throughout the monitoring session will show the dynamic heart rate with a value sent each second, while the summary field in the usage type will show the average heart rate of the entire session.
- The following built-in Summary attributes appear in all New Usage Type Templates:
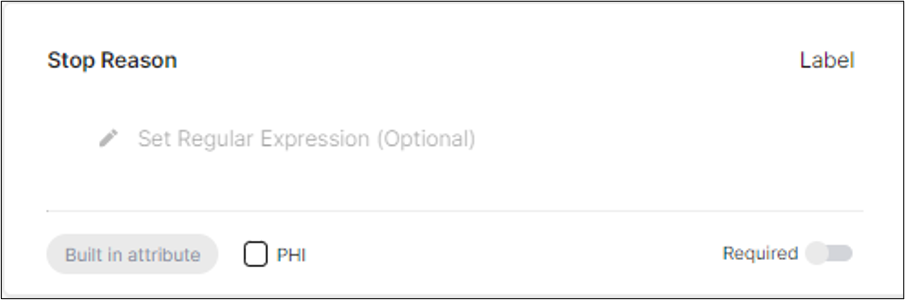
Stop Reason
Attribute Type: Label
The reason why the device was stopped set as a regular expression.
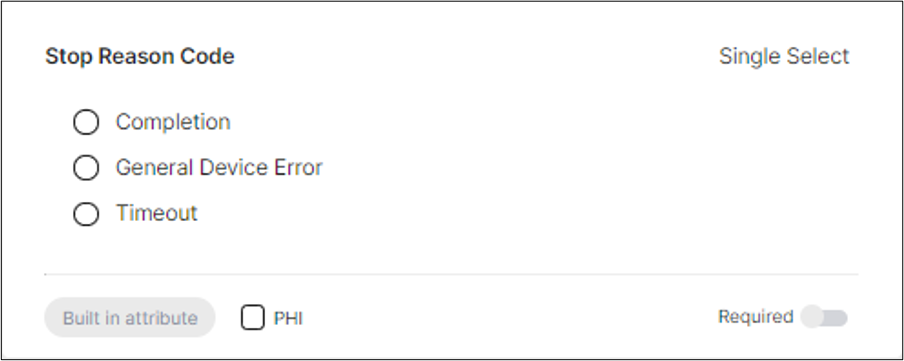
Stop Reason Code
Attribute Type: Single Select
The stop reason code, e.g., completion, general device error or timeout.
- To add a Summary field, click + Add Summary Field, then follow the instructions in Step 4.
Attribute Type: Entity can be used to create a reference link to another entity in the system including Generic Entities or specific templates. For example, linking a Device Log File.
Attribute Type: Linked can be used to create a reference link to any observation in the patient template.
NoteOther Summary attributes can refer to the device (such as device intensity or level of utilization) but cannot be linked to other entities. For these attributes, it is necessary to define Usage Types as the attributes will not inherit the references.
- Click Next
NoteMake sure to add names for any usage types you add, as well as selecting the field type for any fields you add to the usage type.
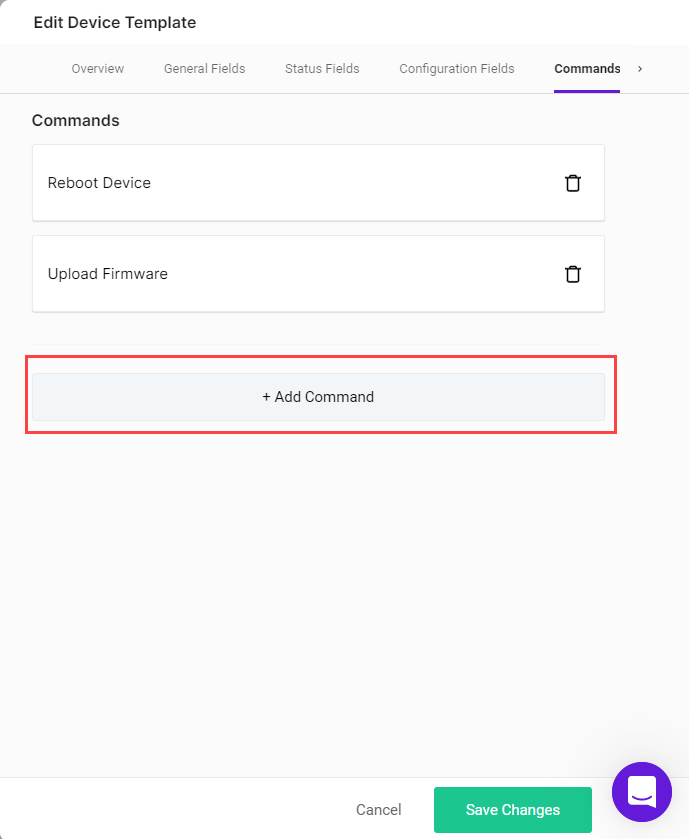
Step 11 - Commands
After adding any Usage Type fields, at the bottom of the page, click Next. The Commands page is shown.
Commands allow you to specify what kinds of commands can be sent to the device and the parameters required for each of these commands.
Step 12 - Add Commands
To add a new command:
- Click + Add Command.
Overview Tab
The New Command Template page is displayed. Add a name and optional description for the command. Use a template name that reflects the command type (for example, Reboot Device), and optionally change the timeout length (the default is 10 seconds).
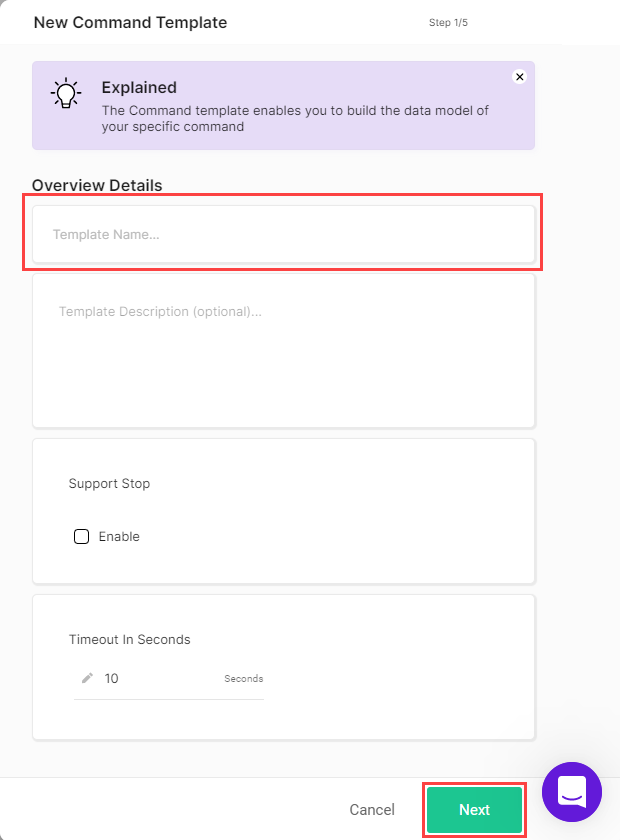
- Click Next.
General Fields
The General fields page is displayed with the list of built-in attributes.
General attributes include data that users want to track about the Command. For example, one of the General attributes may be a State attribute which describes when the device was last modified.
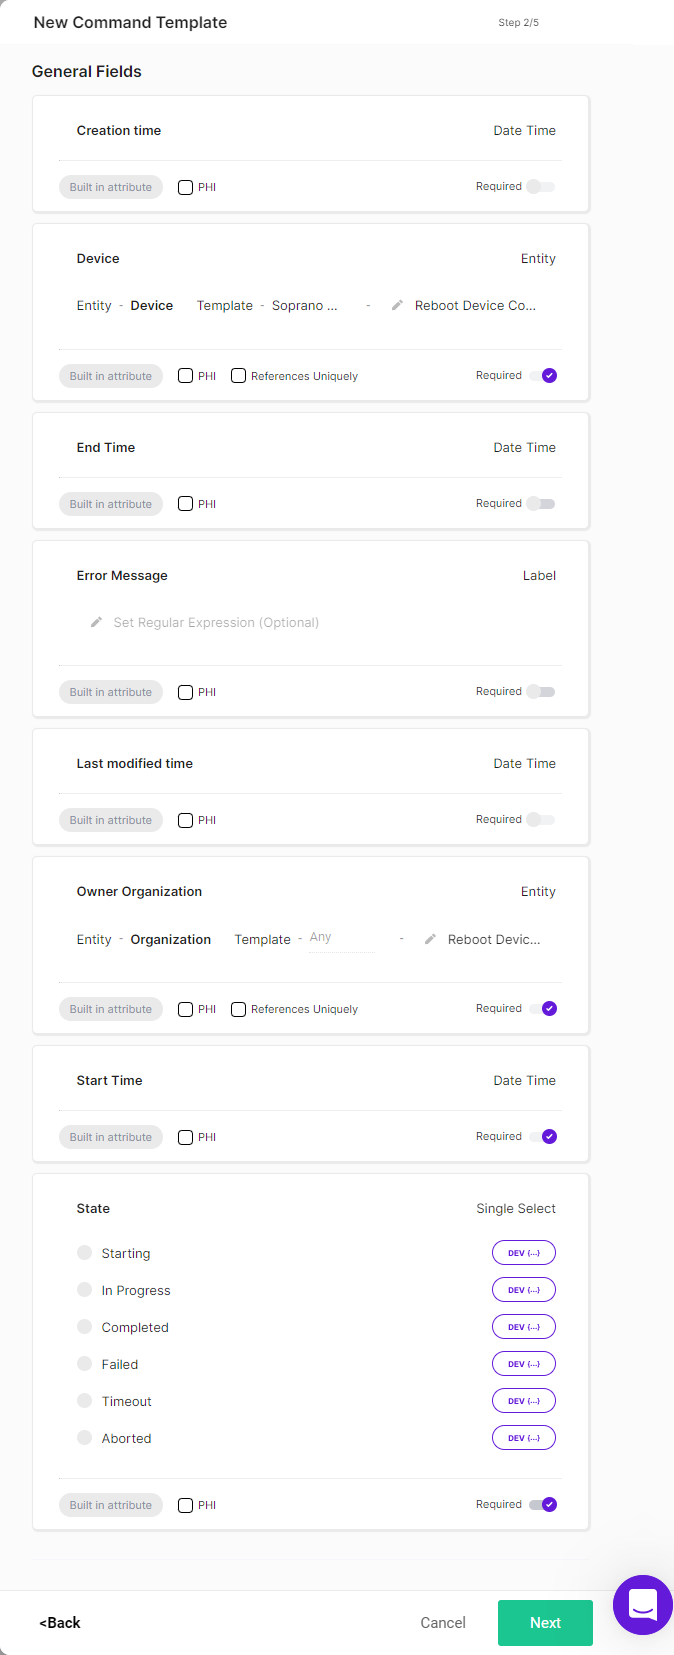
The following built-in General attributes appear in all new Command templates:
Creation Time
Attribute Type: Date Time
When the Device record was first created in the cloud.
Device
Attribute Type: Entity
Link the command to other entities and define whether it applies to all device templates (any) or a specific device template.
End Time
Attribute Type: Date Time
When the Device record ended.
Error Message
Attribute Type: Label
The message to display to the client if an error occurs.
Last Modified Time
Attribute Type: Date Time
When the Device record was last edited.
Name
Attribute Type: Label
The name for the command.
Owner Organization
Attribute Type: Entity
Refers to the Organization that owns the device and defines whether it applies to all organization templates (any) or a specific organization template.
Start Time
Attribute Type: Date Time
When the device record started.
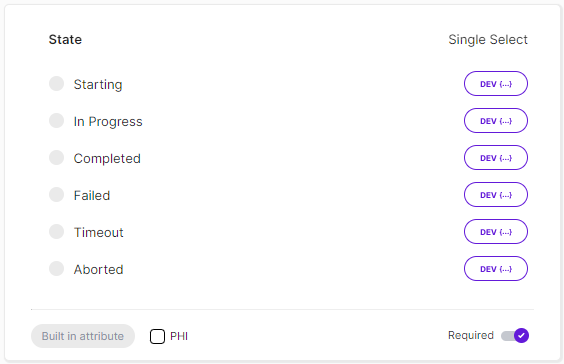
State
Attribute Type: Single Select
The state of the command, for example Starting, In Progress, Completing, Failed, etc.
- Click Next.
Configuration Fields
Configuration attributes provide information to the device about how BioT requires it to set itself up for the Command. There are no built-in configuration attributes for Commands.
-
To add a Configuration field, click + Add Configuration Field, then follow the instructions in Step 4.
-
Click Next.
Summary Fields
A Summary Field presents an average or variance for each instance of usage of the device. For example, for Commands, each record will be a summary of the command's execution. There are no built-in configuration attributes for Commands.
- To add a Summary field, click + Add Summary Field, then follow the instructions in Step 4.
- Click Next.
NoteMake sure to add names for any commands you add, as well as selecting the field type for any fields you add to the command.
Status Fields
- To add a new Status field, scroll to the bottom of the Status attributes list, click + Add Status Field, then follow the instructions in Step 4.
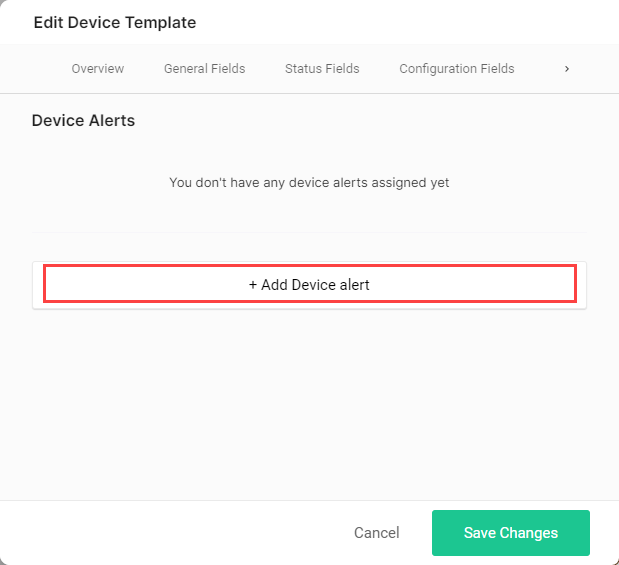
Step 13 - Add Device Alerts
Device alerts enable you to build the data model of specific device alerts. Device alerts are generated via API requests, either by the device itself or by a plugin that is notified whenever a change in the device's general function is recorded. By customizing alerts in the Device template, you can define what kind of information will trigger an alert and when.
To add a new Device Alert:
- Click + Add Device Alert.
Overview Tab
The New Device Alert Template page is displayed.
- Add a name and optional description for the device alert. Use a name that reflects the alert type.
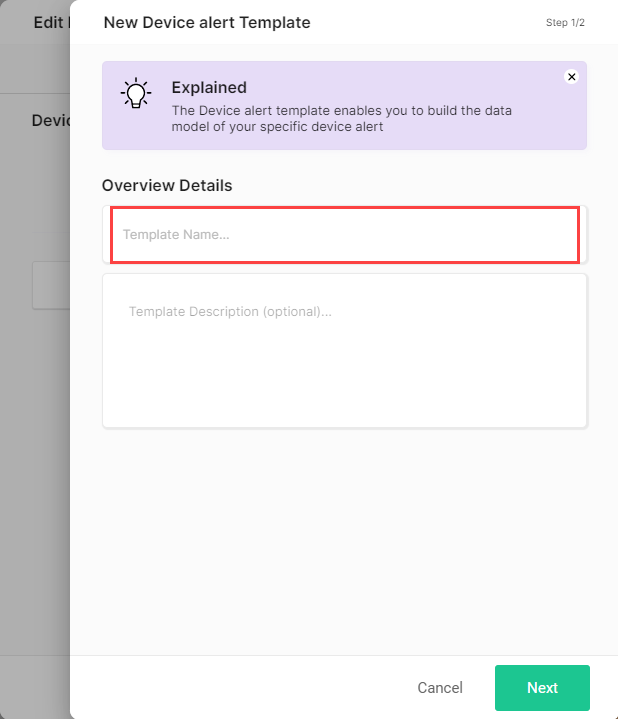
- Click Next.
General Fields
The Device Alerts Template General Fields page is displayed. General attributes include data that users want to track about the device alert.
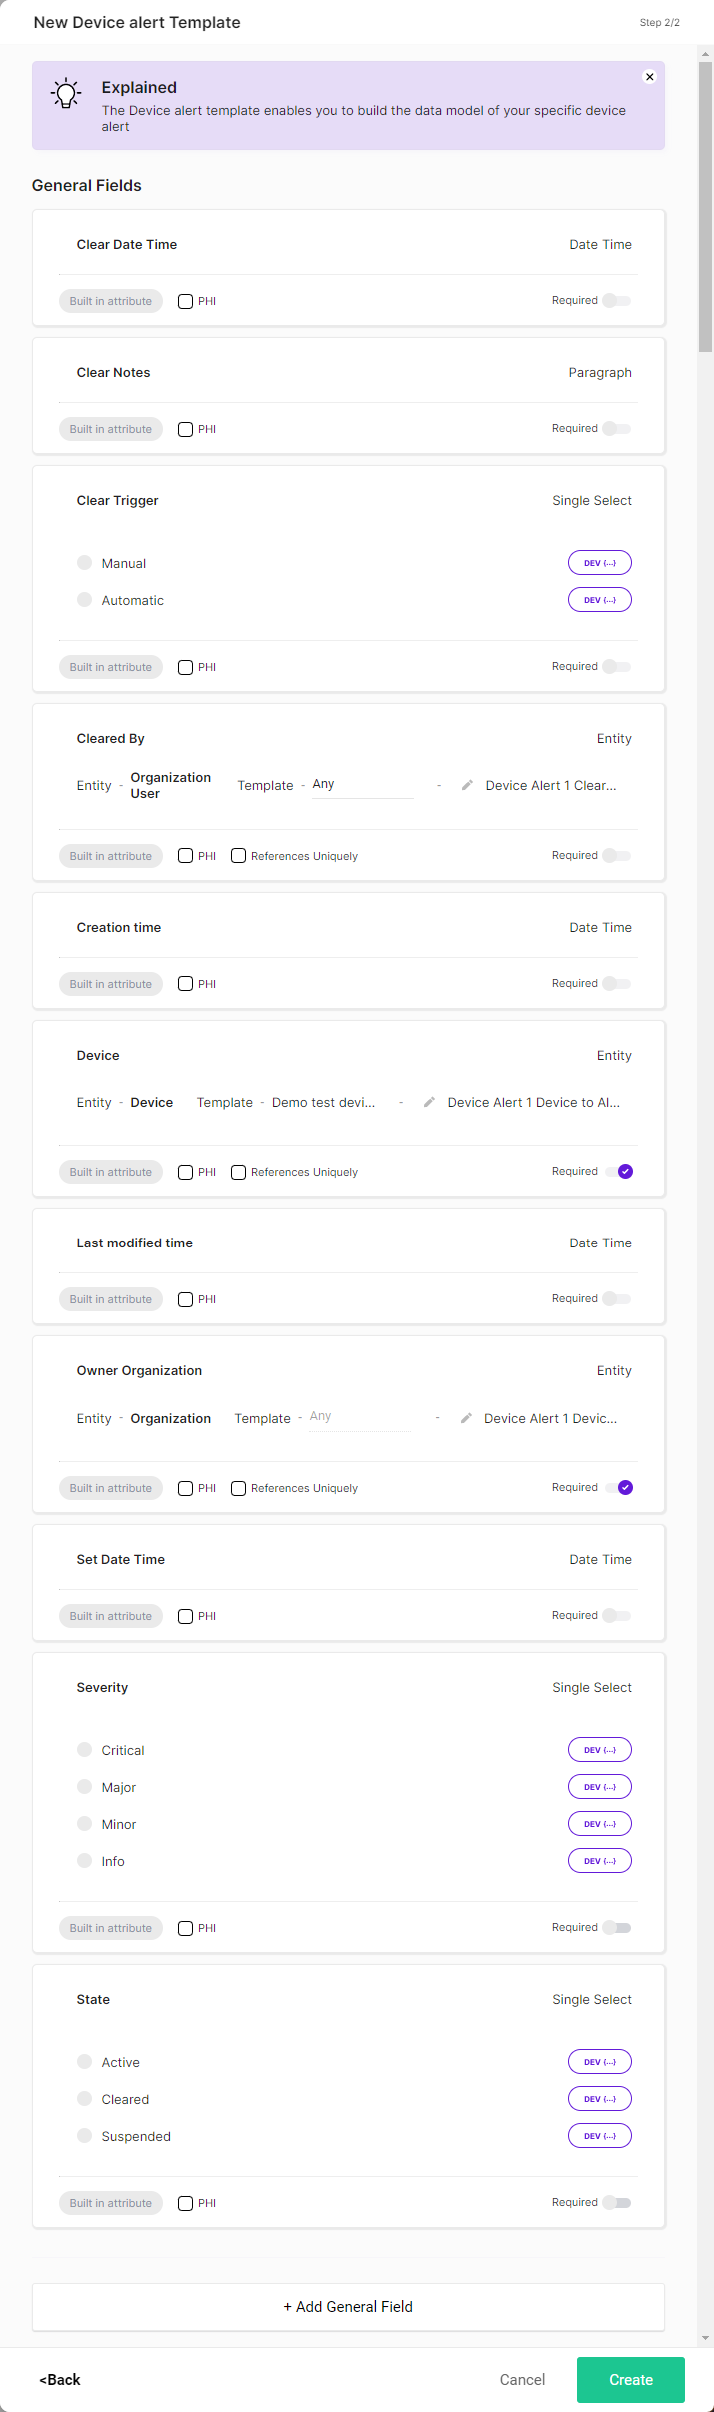
See explanation on required fields in Add General Field.
The following built-in attributes appear in all new Device Alert templates:
Clear Date Time
Attribute Type: Date Time
The time and date that the alert was cleared.
Clear Notes
Attribute Type: Paragraph
Any notes written when the alert was cleared, regarding the reason for clearing the alert.
Clear Trigger
Attribute Type: Single Select
Whether the trigger for clearing the alert was manual or automatic.
Cleared By
Attribute Type: Entity
The person who cleared the alert. Usually a caregiver.
Creation Time
Attribute Type: Date Time
The time and date when the alert was created.
Device
Attribute Type: Entity
The device for which the alert was created.
Last Modified Time
Attribute Type: Date Time
The last time the alert was modified.
Name
Attribute Type: Label
A name for the alert.
Owner Organization
Attribute Type: Entity
Refers to the Organization that owns the device for which the alert was created and defines whether it applies to all organization templates (any) or a specific organization template.
Set Date Time
Attribute Type: Date Time
The time and date when the alert was set.
Severity
Attribute Type: Single Select
The severity of the alert. Possible values include: Critical, Major, Minor, Info.
State
Attribute Type: Single Select
The current state of the alert. Possible values include: Active, Cleared, Suspended.
- Click Create.
- Repeat steps 1-4 for any additional device alerts you want to create.
Step 14 - Finish Template
When you have finished adding Device Alerts, click Create. The template is created, and you return to the template list.
NoteYou can click Cancel at any time to discard the template and return to the templates list.
Updated 8 months ago