Adding Bio Markers to the "Hello World"
Teach BioT About Your Patient
BioT needs to know a few things:
- What static patient record information you would like to maintain about your patient (e.g. their name, date of birth, etc.)
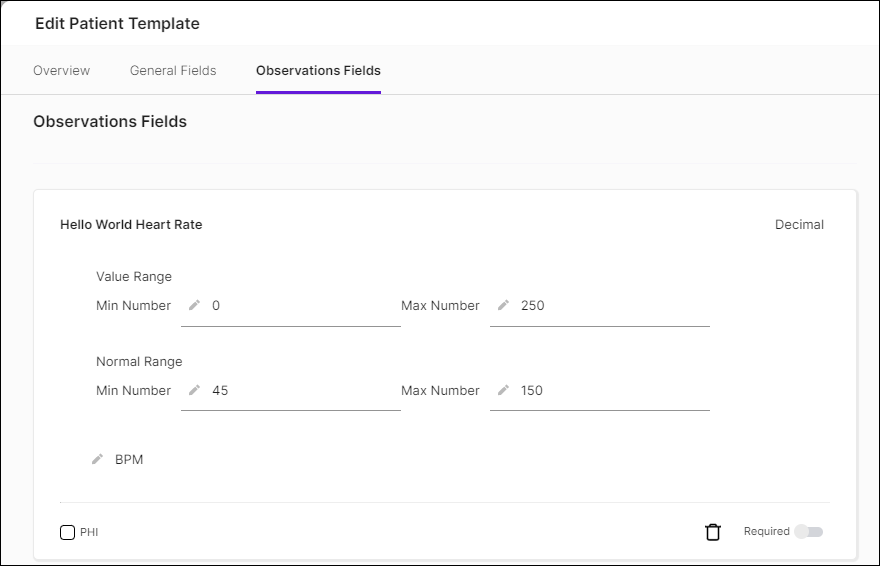
- What biomarkers and other observations you would like BioT to record from your device or other sources (e.g. heart rate, pressure waveform, imagery, etc.)
Once you have determined these, you can teach BioT about them by configuring the "patient template". See Editing the Patient Template for a detailed description of how to do it.
Make Your Device Send Measurements
Now is the time to use the integration guide relevant to your connectivity architecture and implement the other part of the basic functionality - Starting and stopping a Usage Session following a BioT command.
In BioT, measurements (such as heart rate readings) are always sent in the context of a "usage session". Remember the "Monitoring" session we mentioned in the basic "Hello World" guide? Thanks to that, BioT will activate your device by sending it a command to start a "Monitoring" usage session.
Follow the instructions in the integration guide to respond to Start Session, and then send your measurements according to what you defined as Observation in the patient template.
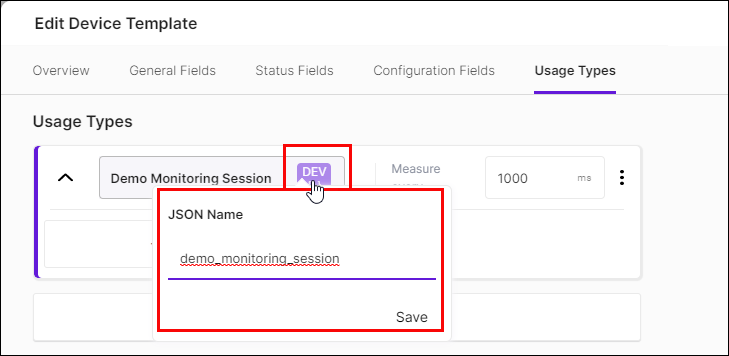
NoteYou must use the same DEV name, defined in the patient template, in the JSON you send from your device.
Add Your First Patient
Now comes the fun part, but in order for it to be short we take here the less common assumption that you, the device manufacturer, are also the healthcare organization and therefore you can see the patient details and their data. Don't worry, you will be able to use our Organization management features to implement the more common scenario of a separate healthcare organization that manages its patients and caregivers independently.
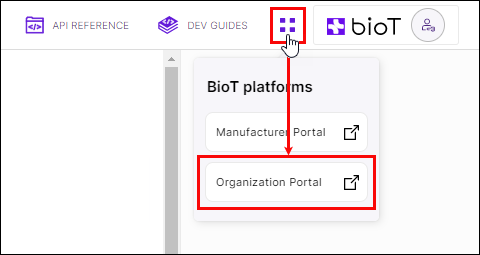
- Login to the Organization Portal.
The quickest way to do this is by clicking the four dots icon in the top right corner of the BioT Console, and selecting "Organization Portal" from the BioT Platforms list.
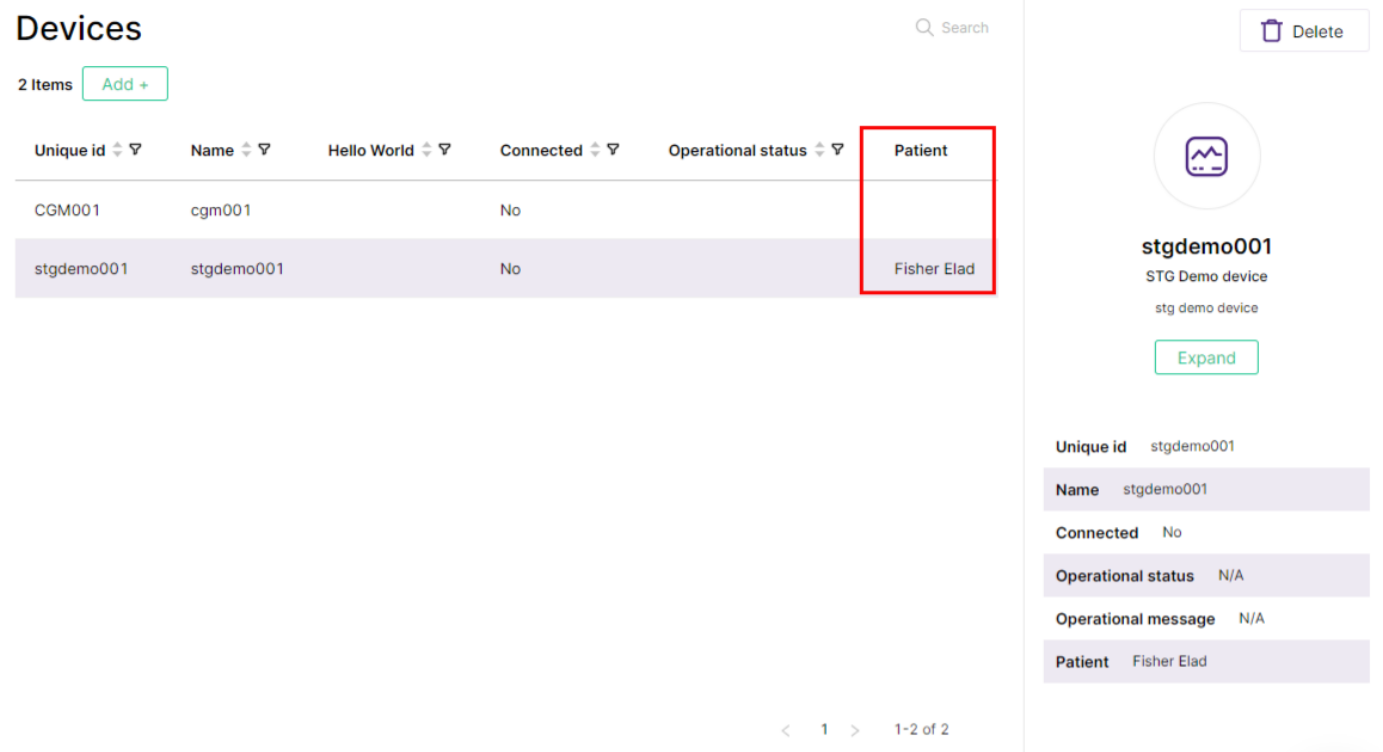
In the Devices tab you should see the device you already added.
- Now go to the Patients tab, press Add and add your first Patient.
- Now go back to the device, Expand and edit it.
- Look for the Patient field, click it and select the patient you just added.
This linked your device to your patient. This way the measurements from that device will be recorded for that patient.
In the Organization Portal:
- Select your patient and Expand it
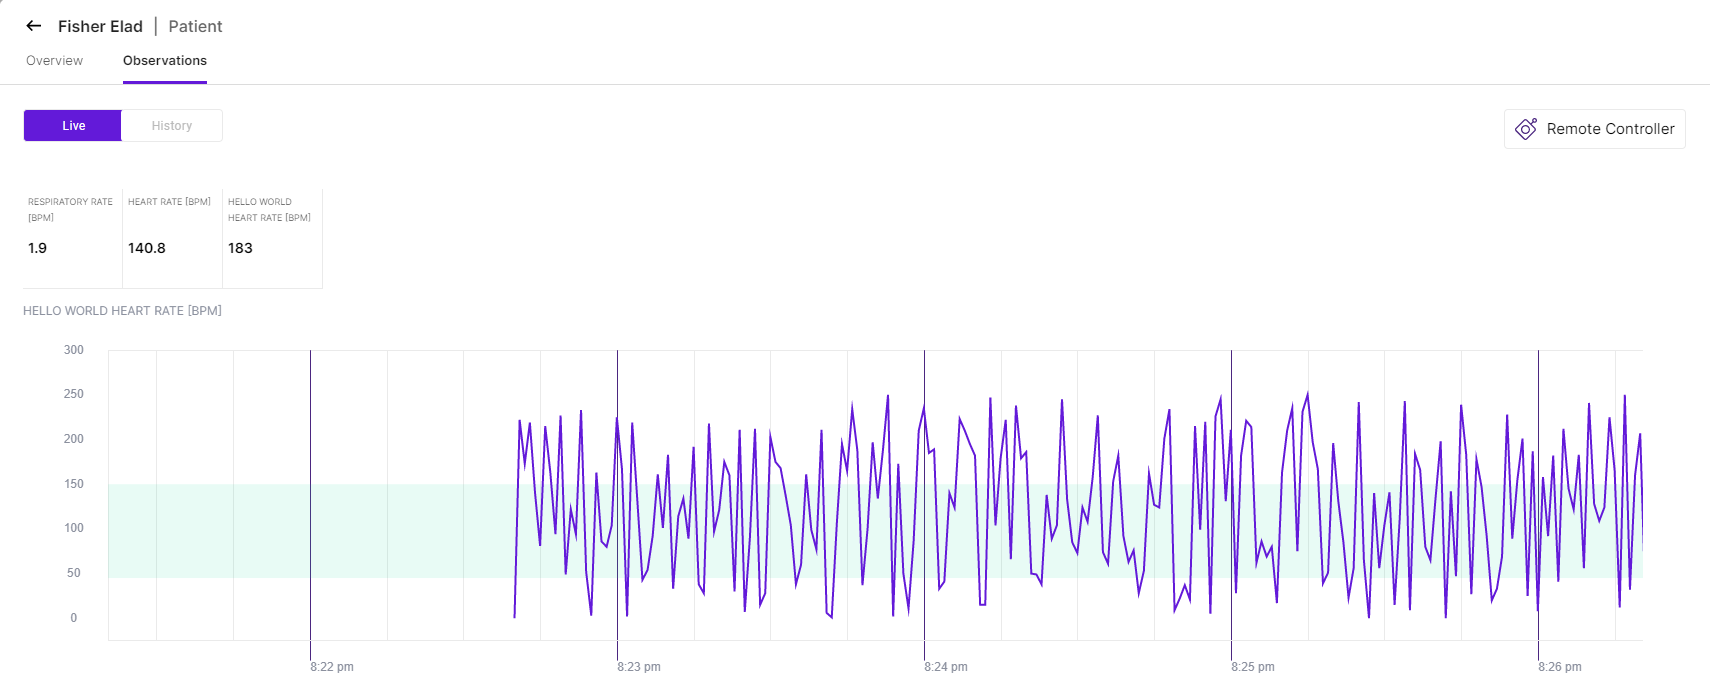
- Go to the Observations tab.
- Click the Remote Controller button.
- Select your device and press the Play button.

This causes BioT to dispatch the "Monitoring" command to your device. Assuming everything is all right, you should see the measurements you transmit drawn as graphs in the portal.
You can then press the History button and switch to the Historical view.
You now have successfully completed "Hello World" remote patient monitoring .
Updated 5 months ago
