Editing a Device Template
BioT comes preinstalled with the Device Type 1 template. . Its purpose is to allow you to teach BioT what type of information you would like to keep about your Device. You can customize it for your needs by adding, changing, or removing attributes. Follow the procedure below to edit a Device template. For more information about Device templates, see Device Template in the product description.
Step 1 - Select the Template
From the Templates list in the BioT Console, find the template in the list and select it.
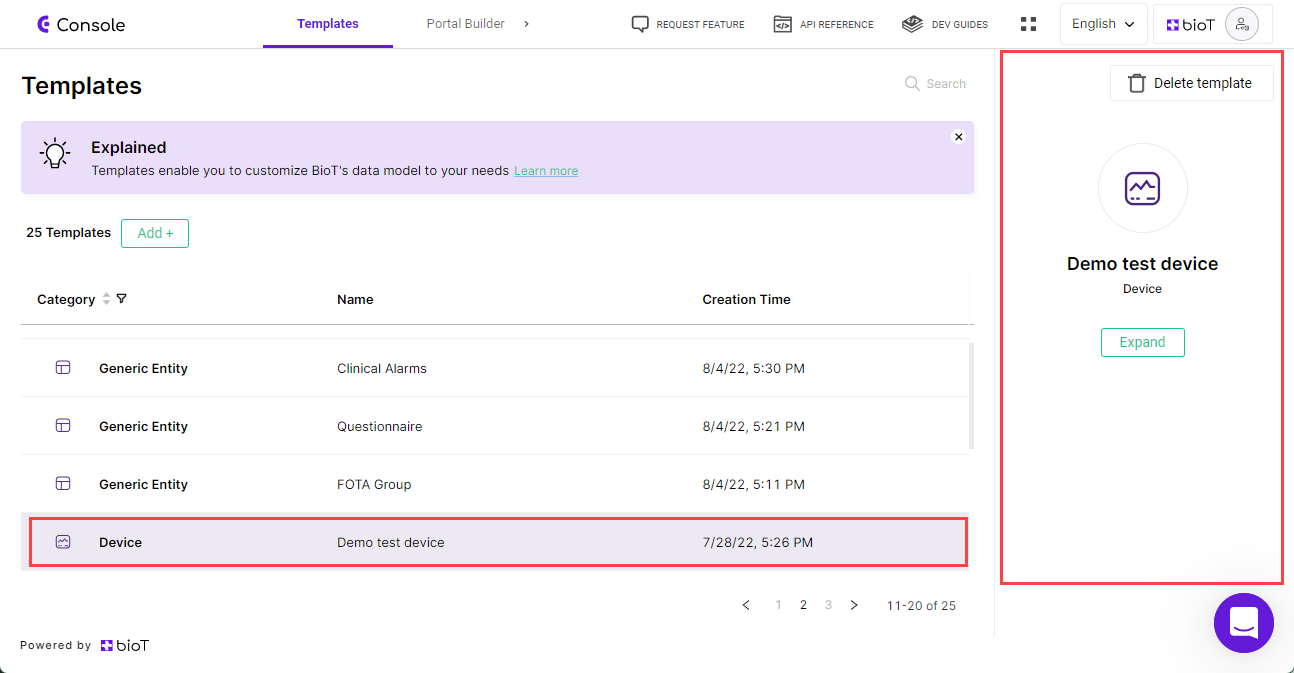
Template Preview
Step 2 - Expand the Template
On the preview pane, press Expand.
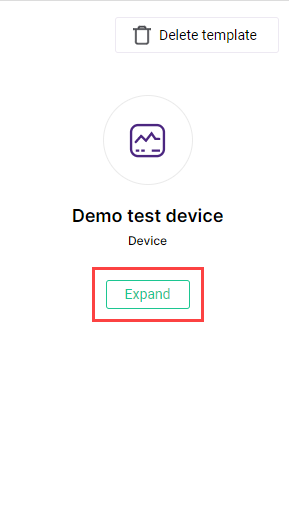
Expand Template
The Overview tab of the Edit Device Template page is displayed.
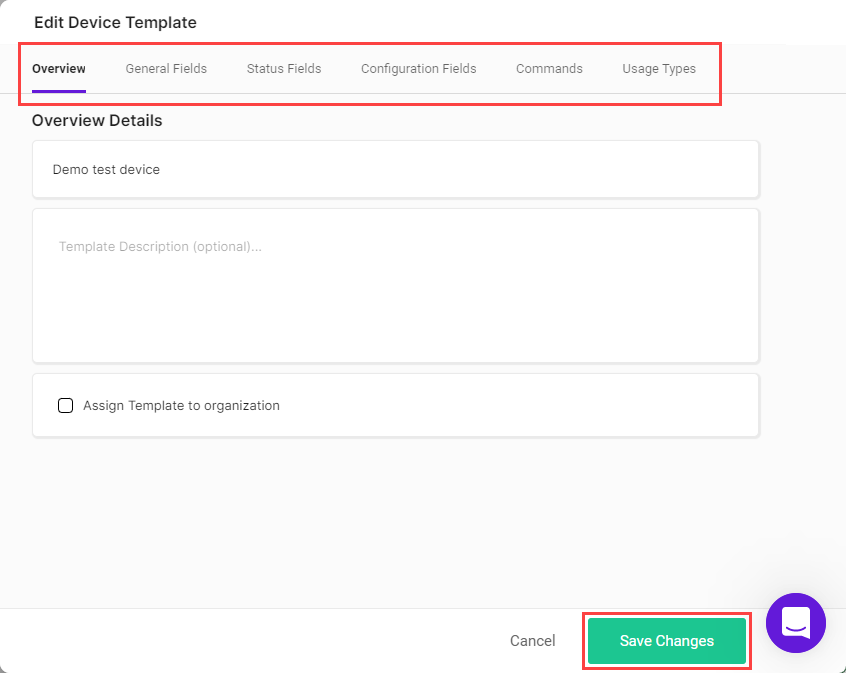
At the top of the overview tab, you can choose the tab in which you want to make changes. The different tabs include Overview, General Fields, Status Fields, Configuration Fields, Commands and Usage Types. For details of the different fields in each of these tabs, see Step 3, Step 5 and Step 10 of Adding a Device Template.
Step 3 - Make Changes
Select the tab in which you want to make changes, and add or remove fields as described in Step 4 of Adding a Device Template.
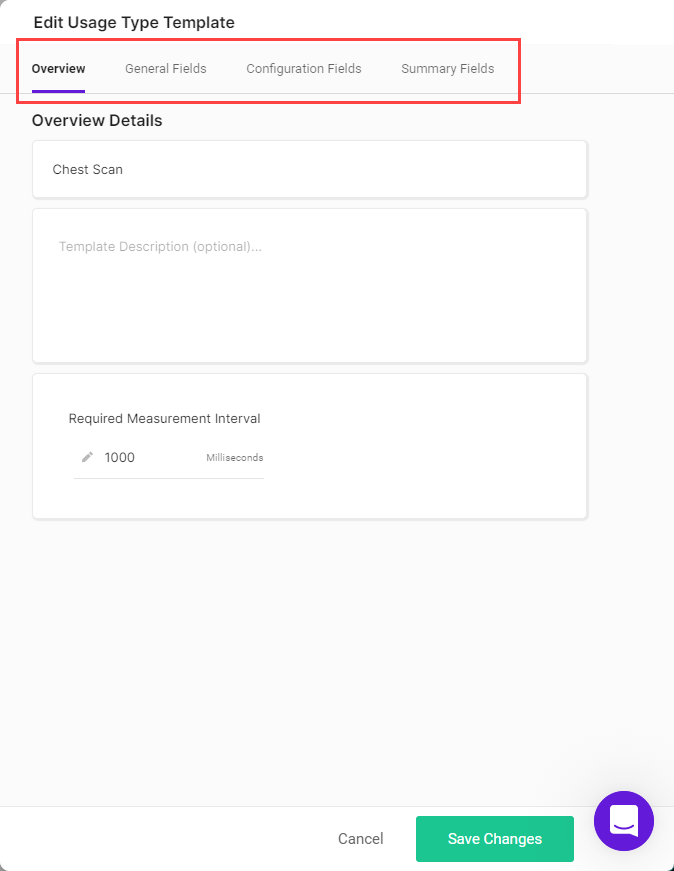
For example, to make changes in the Usage Types tab, select the Usage Type to open (in the example below, Chest Scan). Usage Types allow you to specify what kinds of activities each device can perform and the parameters required for each of these activities.
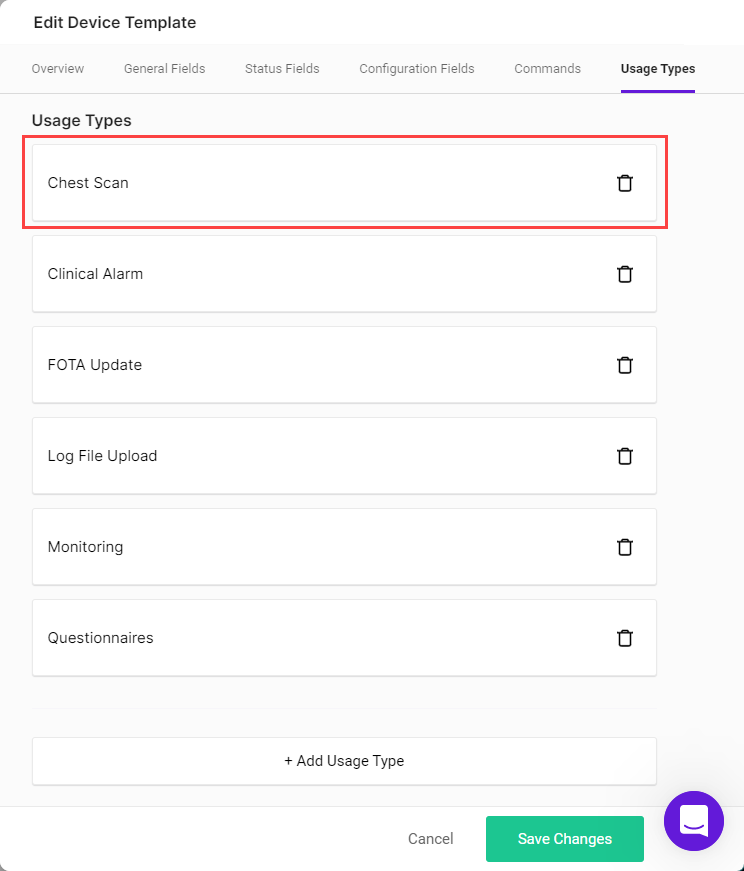
The Overview Tab of the Edit Usage Type Template is displayed.
Select the tab in which you want to make changes, then add or remove fields as described in Step 10 of Adding a Device Template.
Step 4 - Save Changes
Once you finish making changes to the Usage Type or Template, click Save Changes.
You are returned to the template portal page.
NoteYou can click Cancel at any time to discard the changes and return to the templates list.
Updated 8 months ago