Adding a New Organization User
ImportantBefore adding new Organization Users, you should first edit the Organization User Templates in the BioT Console (see Editing Organization User Templates).
There are two ways to add Organization Users in BioT. You can either add them from the Organization Users tab in the Organization Portal or from the organization directly in the Manufacturer Portal.
Adding a User from the Manufacturer Portal
Step 1 - Select an Organization
- Login to the BioT Manufacturer Portal.
- Select the organization to which you want to add a user.
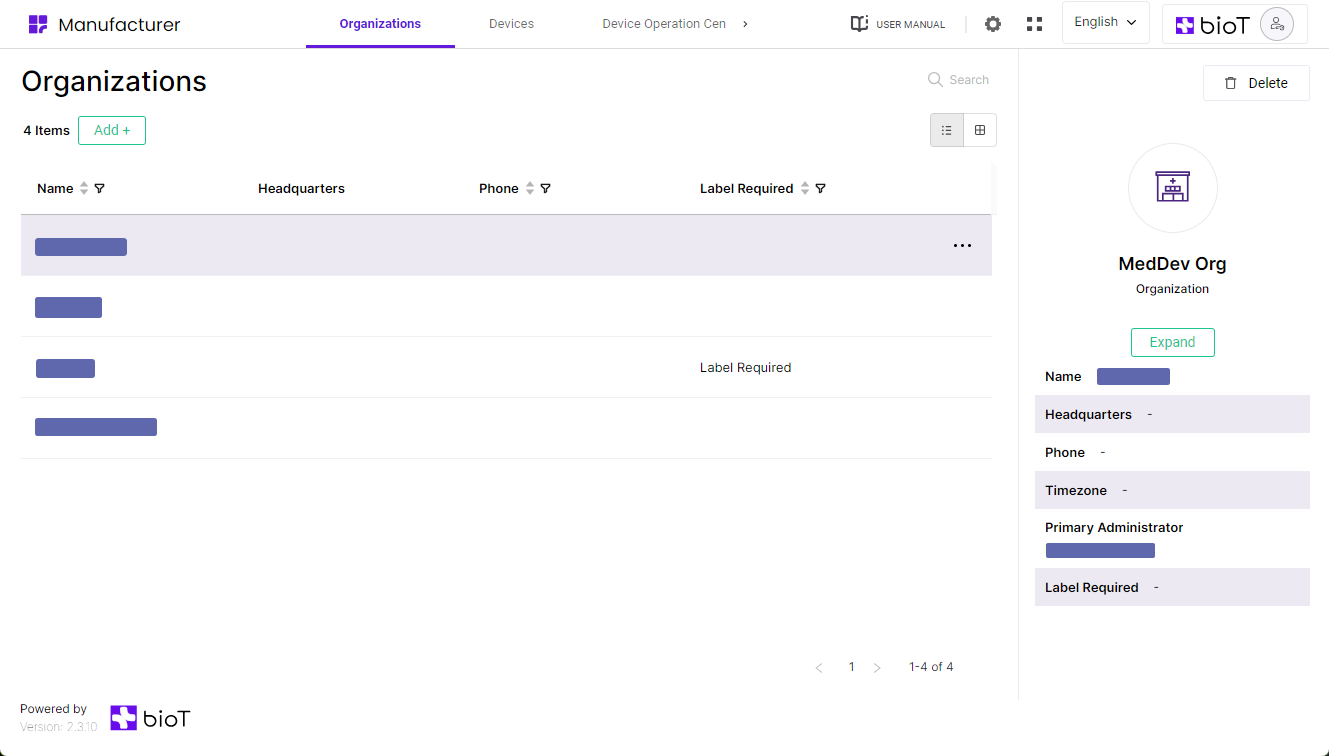
- Click Expand to open the Organization.
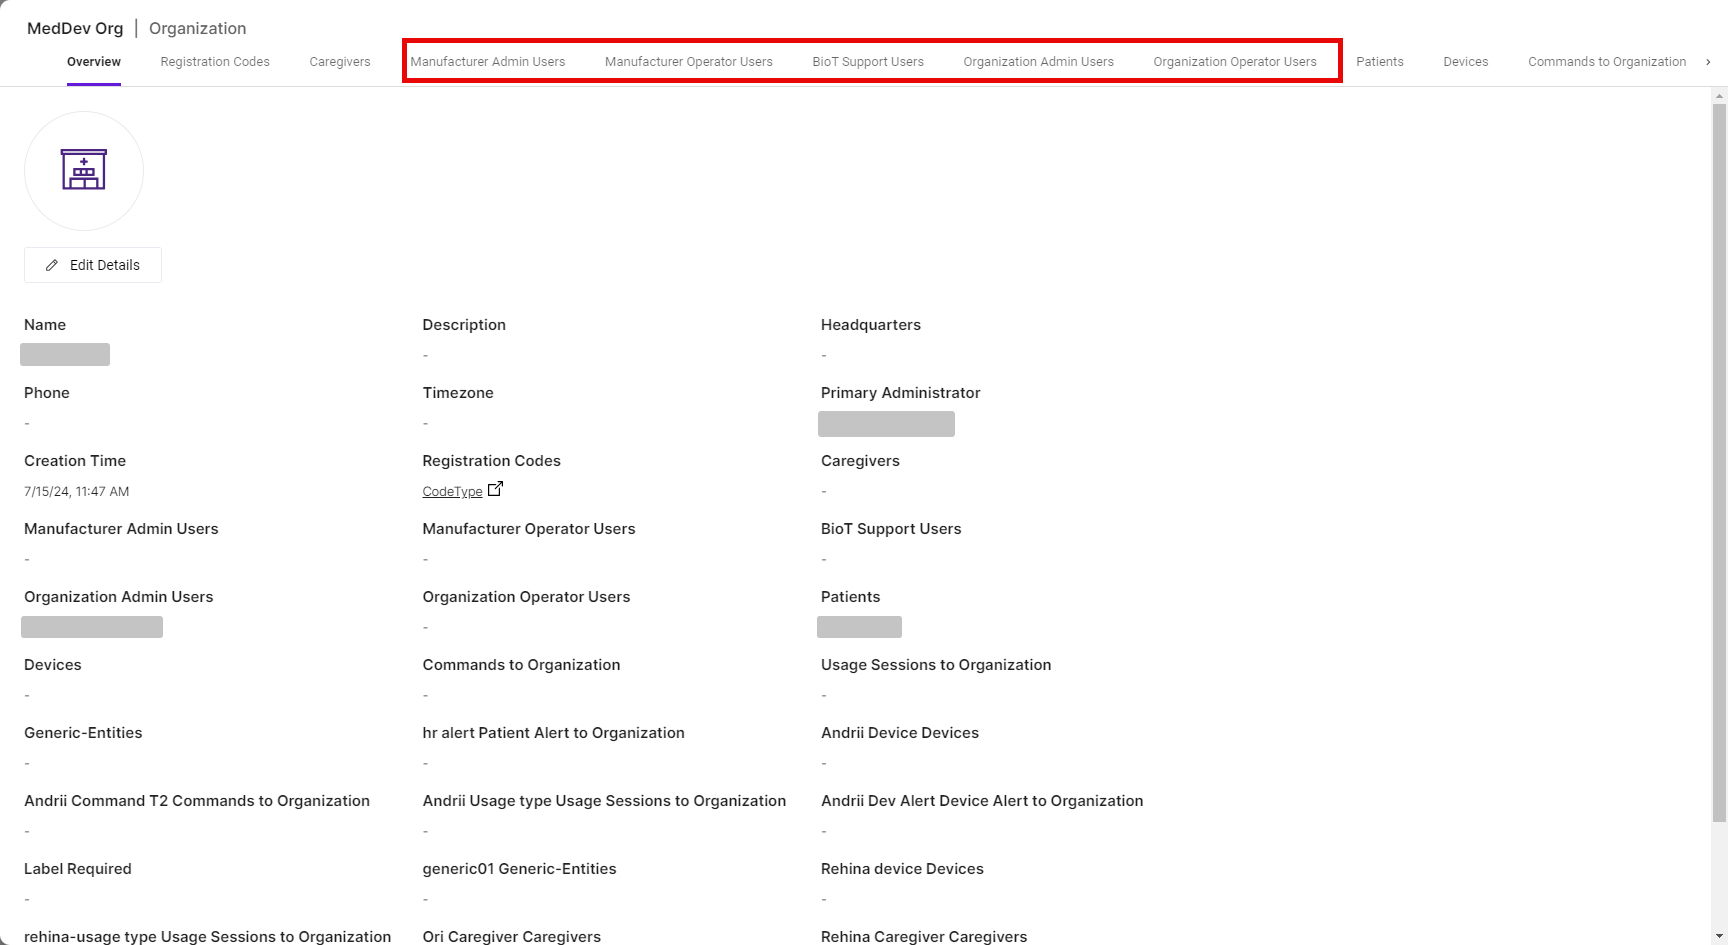
Step 2 - Select the User Type
Click on the tab for the type of user you want to add from the top tab bar. We will use the Organization Users type as an example.
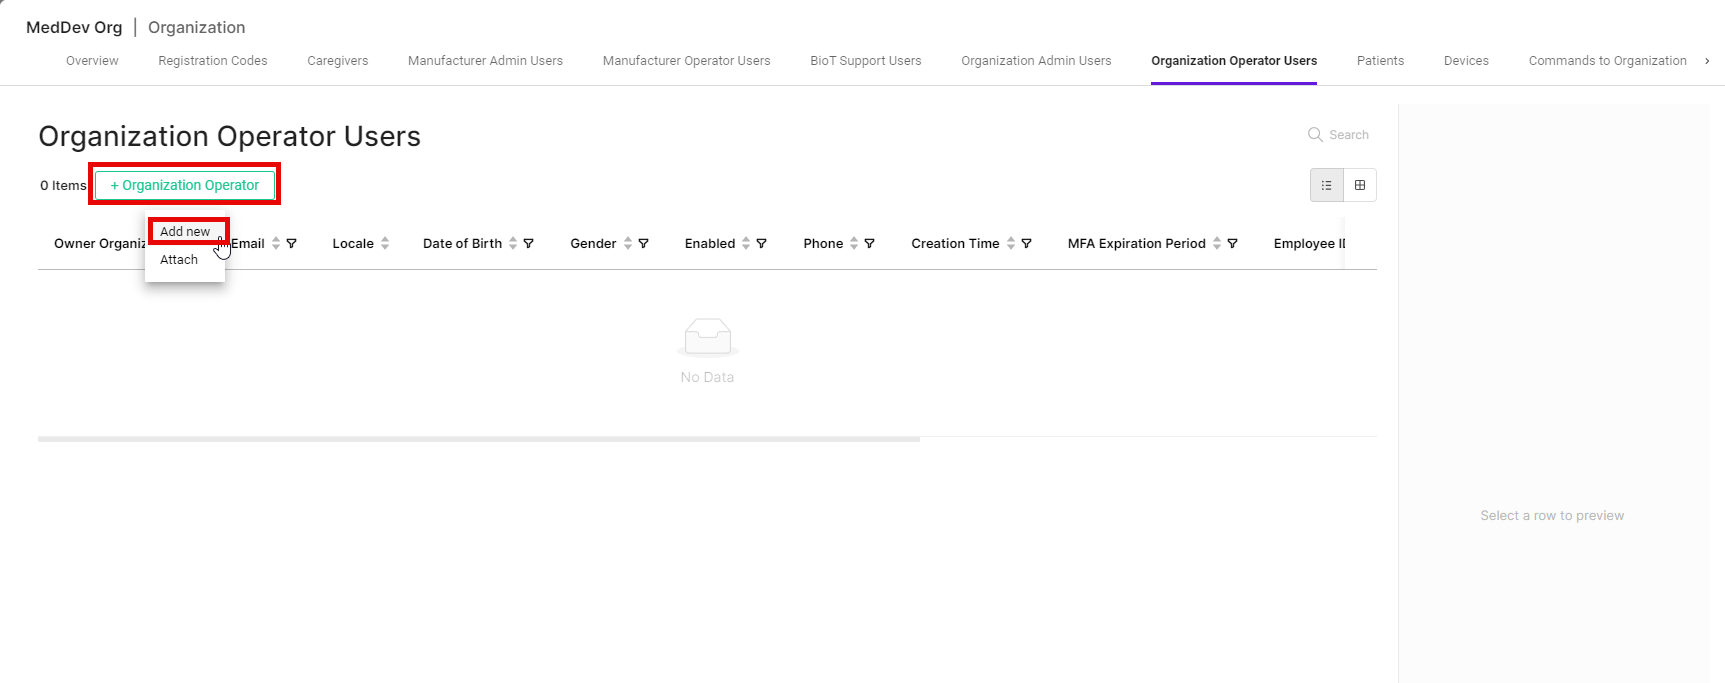
Click + Organization Operator then click Add new.
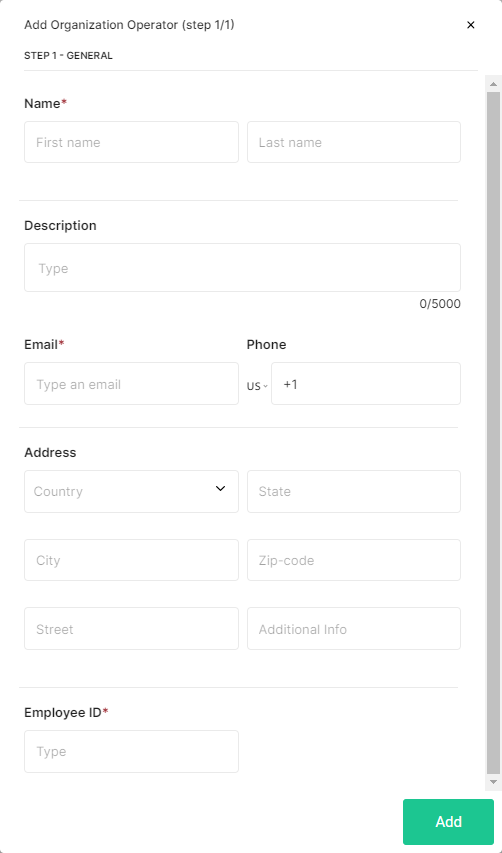
Step 3 - Add Organization Operator Page
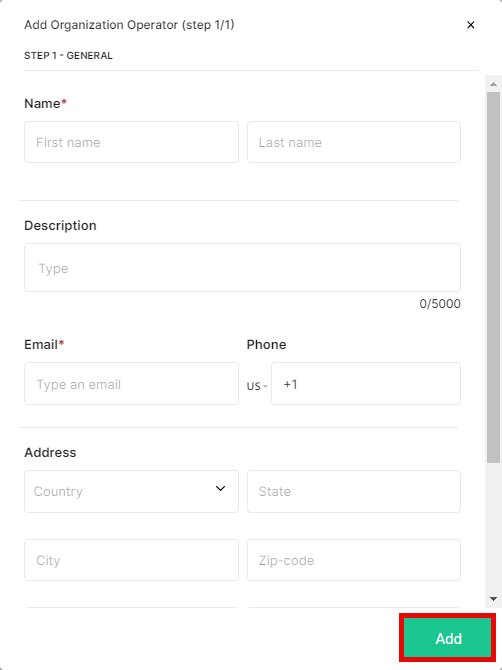
In the Add Organization Operator page that appears, you can now enter the user's information as described in Adding an Organization User Template.
NoteNot all fields in the pane are required to create a new Organization User. Required fields will have a red asterisk next to them.
The image below shows an example of the fields which may be present when adding a new Organization User. The specific fields seen will depend on the fields configured in the Portal Builder in the BioT console.
Step 4 - Add Organization User
Click Add when you finish filling out all the fields.
The new Organization Operator User is added and you are returned to the Organization Operator User list.
NoteYou can click on the X in the top right corner of the Add Organization Operator pane at any time to discard the new user and return to the Organization Operator User List.
Adding a User from the Organization Portal
Step 1 - Organization Users Tab
- Login to the BioT Organization Portal.
- Click the Organization Users tab.
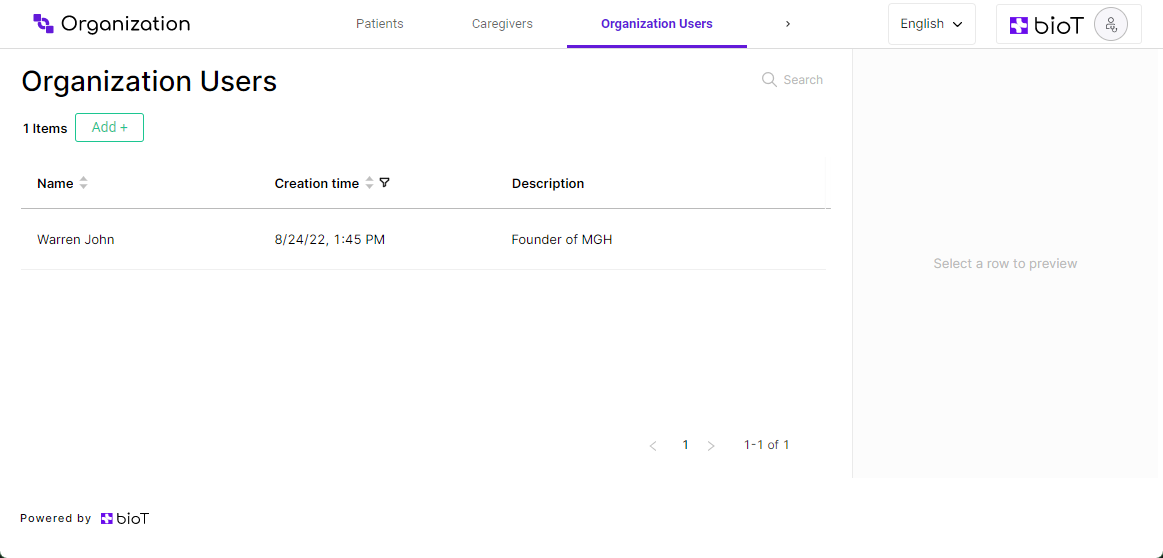
You can configure the information that appears on the Organization Users list in the Portal Builder of the BioT Console (see Customizing Organization Portal Layouts).
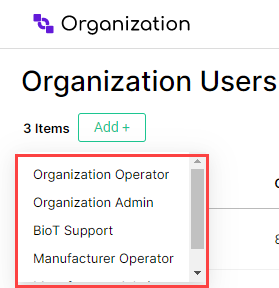
- From the Organization Users list, click Add.
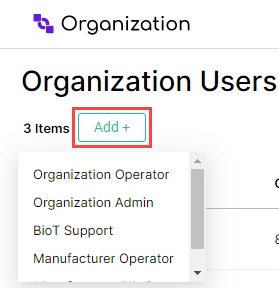
- Select the template to use for the new Organization User from the dropdown list.
Step 2 - Add Organization User Page
In the Add Organization User page that appears, you can now enter the user's information as described in Adding an Organization User Template.
NoteNot all fields in the Add Organization User pane are required to create a new Organization User. Required fields will have a red asterisk next to them.
The image below shows an example of the fields which may be present when adding a new Organization User. The specific fields seen will depend on the fields configured in the Portal Builder in the BioT console.

Step 3 - Add Organization User
Click Add when you finish filling out all the fields.

The new Organization User is added and you are returned to the Organization User list.
NoteYou can click on the X in the top right corner of the Add Organization User pane at any time to discard the new user and return to the Organization User List.
For more information on configuring the fields available when adding new Organization Users, see Customizing Organization Portal Layouts.
After adding a new Organization User, they are sent an email asking them to verify their BioT account. For details on how to do this, see Verifying Your BioT Account.
Updated 8 months ago