Editing the Patient Template
The BioT platform comes preinstalled with the Patient template. . Its purpose is to allow you to teach BioT what type of information you would like to keep about your Patients. You can customize it for your needs by adding, changing or removing attributes. Follow the procedure below to edit the Patient template. For more information about the Patient template, see Patient Template in the product description.
NoteIt is not possible to delete the Patient template, nor is it possible to create additional Patient templates.
Step 1 - Select the Patient Template
- From the Templates list in the BioT Console, find the Patient template in the list and select it.
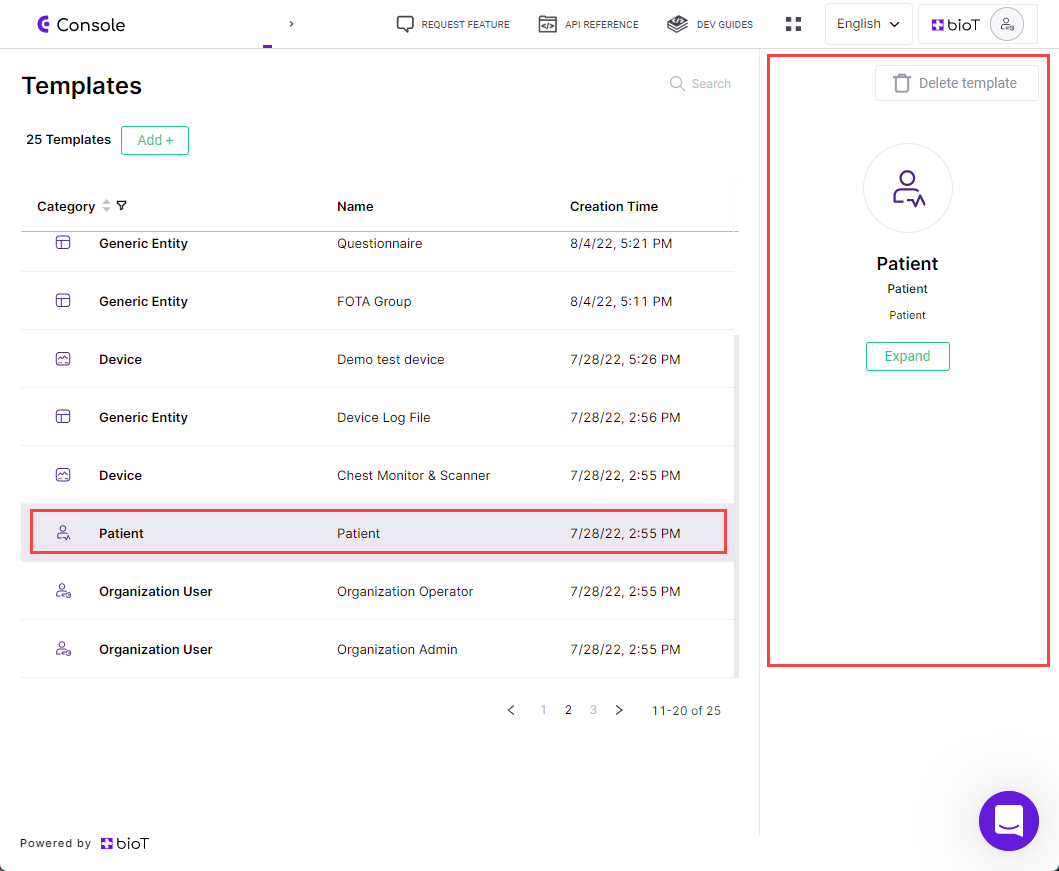
Select Patient Template
- Click on Expand in the preview pane.

Expand Patient Template
The Overview tab of the Edit Patient Template page is displayed.

Step 2 - Manage General Fields
- At the top of the Edit Patient Template pane, go to the General Fields tab.
- Make any necessary changes to the existing fields in the tab.
General attributes include information about the patient such as gender, date of birth, caregiver, etc.
The following built-in General attributes appear in the Patient template:
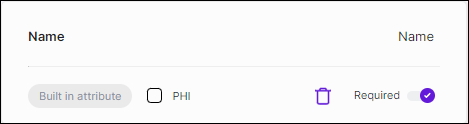
Name
Attribute Type: Name
The patient's full name.
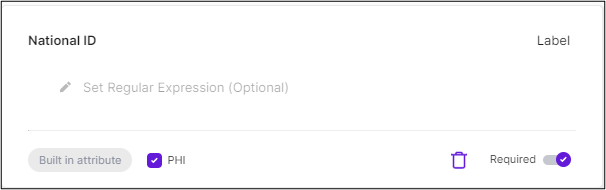
National ID
Attribute Type: Label
This is a unique ID identifying the person. In many countries, it is called a national ID number. If in your country you use a different identifier (e.g. social security number), feel free to rename the field accordingly.
BioT uses this field to avoid confusion in case of persons having the same name.
This field is required and cannot be disabled (see explanation on required fields in Add General Attributes).
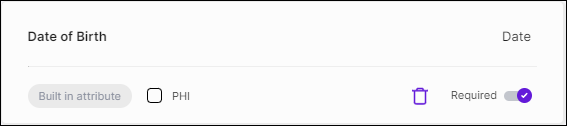
Date of Birth
Attribute Type: Date
The patient's date of birth.
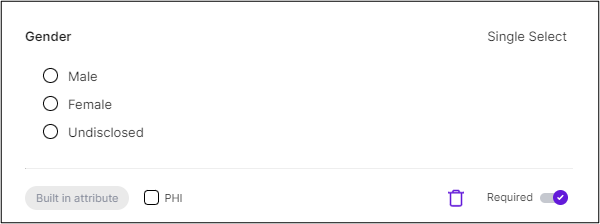
Gender
Attribute Type: Single Select
The patient's gender. Possible options include Male, Female and Unspecified.
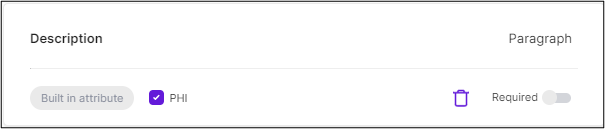
Description
Attribute Type: Paragraph
A description of the patient.
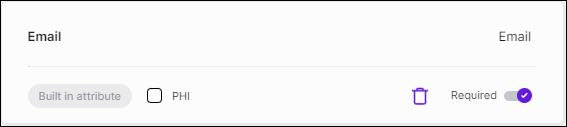
Email
Attribute Type: Email
The patient's email address.
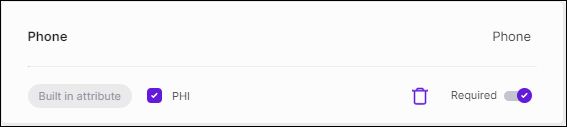
Phone
Attribute Type: Phone
The patient's phone number.
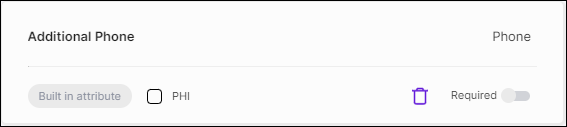
Additional Phone
Attribute Type: Phone
An additional phone number for the patient if they have one.
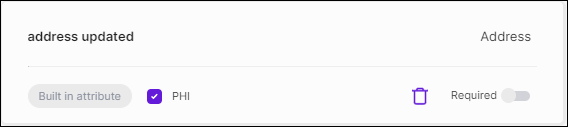
Address
Attribute Type: Address
The patient's current address.
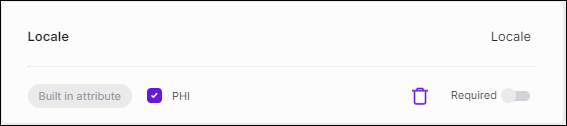
Locale
Attribute Type: Locale
The locale in which the patient resides.
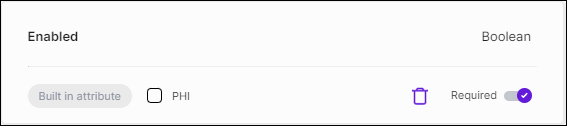
Enabled
Attribute Type: Boolean
Whether or not the patient is allowed to log in to the BioT system.
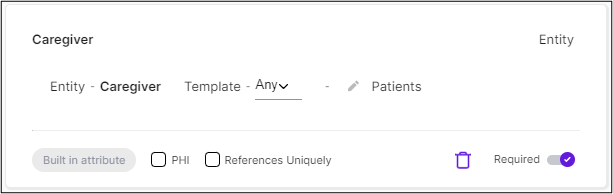
Caregiver
Attribute Type: Entity
The caregiver connected to this patient. If in your use case patients are not assigned to certain caregivers, feel free to disable this attribute.
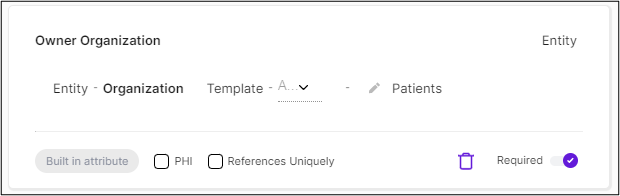
Owner Organization
Attribute Type: Entity
The healthcare organization to which the patient belongs.
This attribute is required and cannot be disabled.
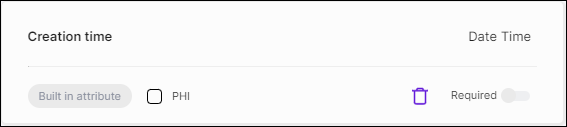
Creation Time
Attribute Type: Date Time
The time and date when the patient's record was created in BioT.
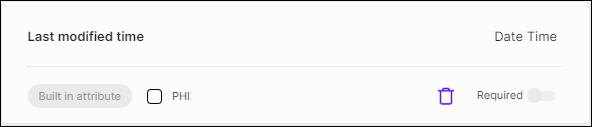
Last Modified Time
Attribute Type: Date Time
The time and date when the patient's record was most recently modified in BioT.
Step 3 - Add General Attributes
If your users need more attributes to keep about the patient, scroll to the bottom of the General attributes list and:
- Click + Add General Field.

Add Regular Field
- Click Please choose a name and enter a name for the new field.

Choosing a Field Name
- Click the Choose Type dropdown and select the attribute type from the list (see Attribute Types for a full list of types and their parameters).

Choose Attribute Type
- Complete the remaining parameters for the Attribute Type.
- For fields that you want to define as obligatory, select Required.
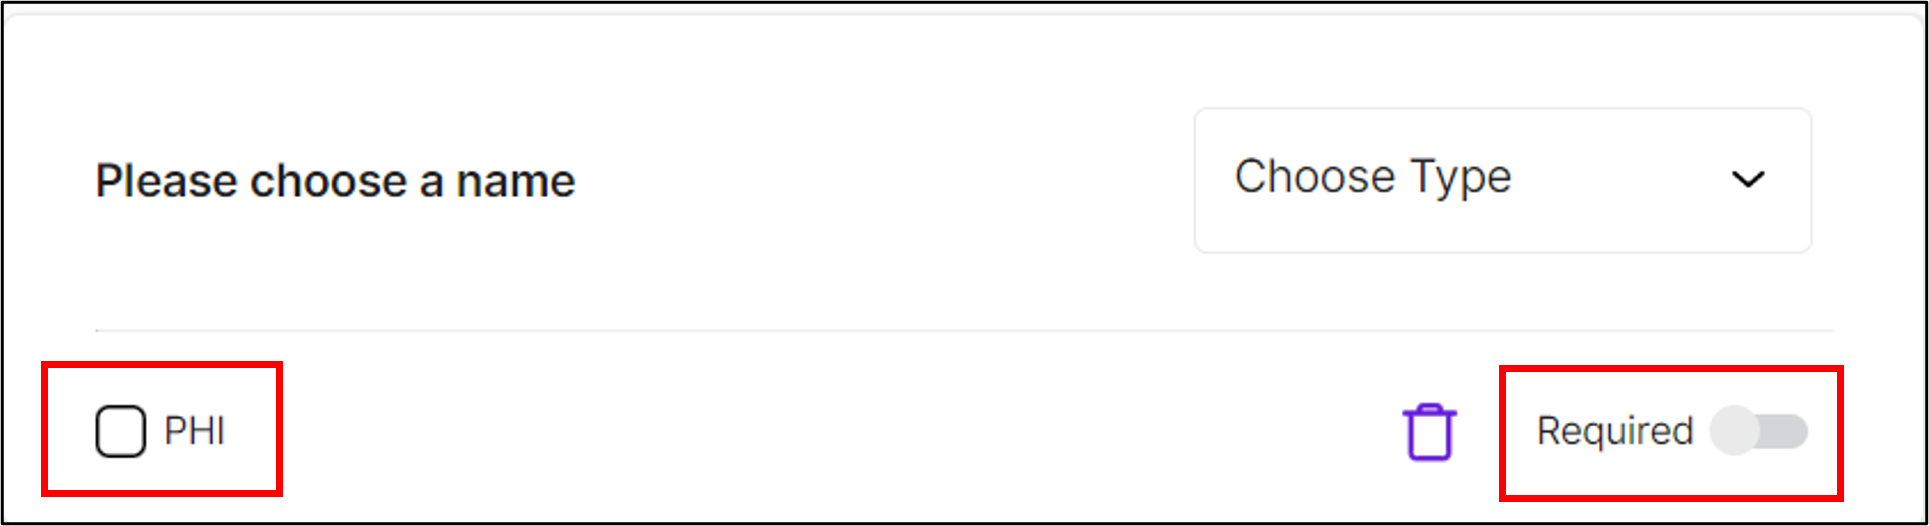
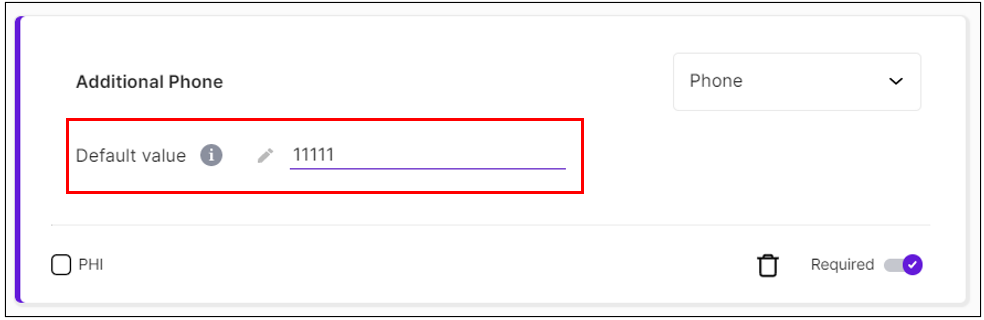
For a field marked as Required, you will be asked to set a Default value. A default value is used when users want to edit the data of an existing patient, but there are some details they cannot enter, due to lack of knowledge or any other reason. In this case, they can leave the pre-defined default value and save their changes.
NoteDefault values can be used only when editing an existing patient. When users create a new patient, they must fill in all required fields with actual values.
For example, a caregiver who updates a patient's test results might be required to enter an additional phone number. In case the patient's additional phone number is unknown or does not exist, the caregiver can leave the pre-defined default value for this field, demonstrated below.
Step 4 - Manage Sign Up/In Fields
- At the top of the Edit Patient Template pane, go to the Sign Up/In Fields tab.
- Make any necessary changes to the existing fields in the tab.
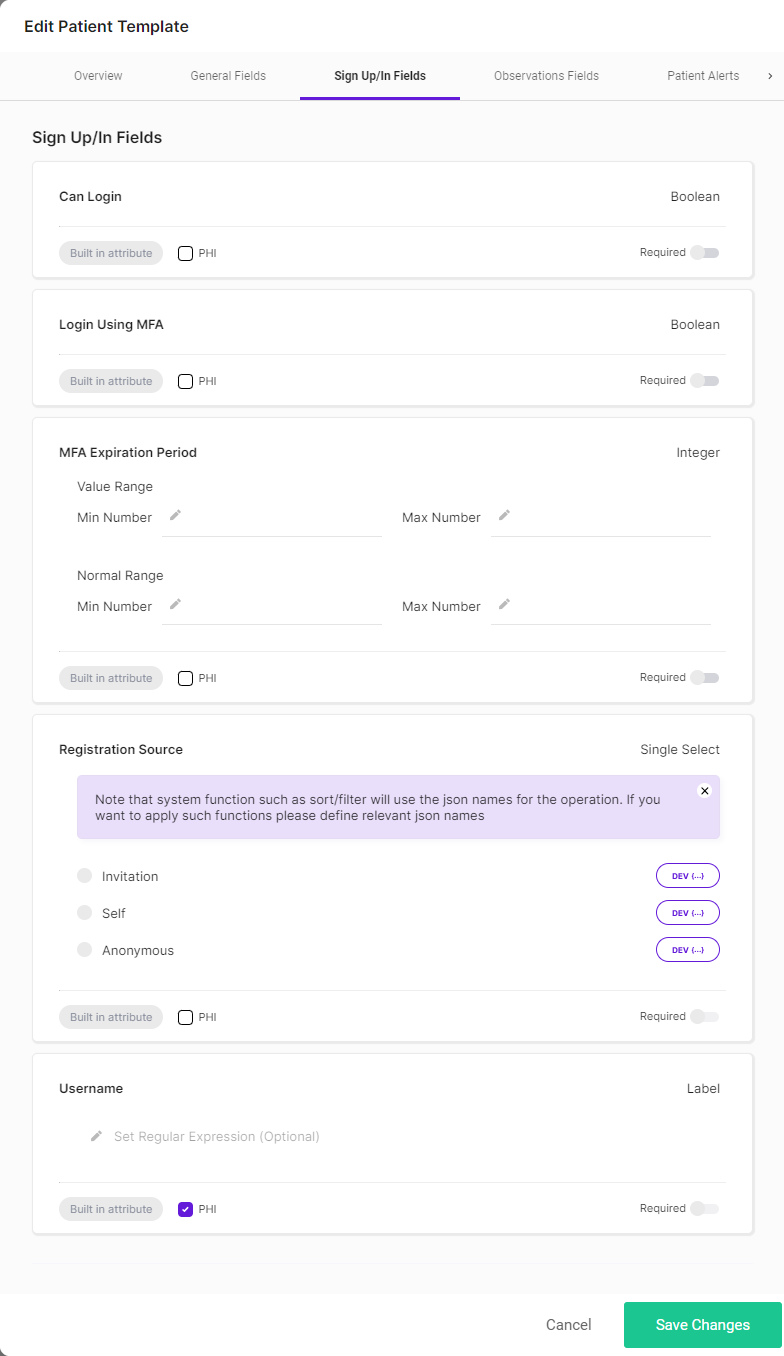
The Sign Up/In fields define the login parameters for the patient being created.
The following built-in Sign Up/In attributes appear in the Patient template:
Can Login
Attribute Type: Boolean
Whether or not the patient is able to login to the BioT portal. When this field is set to On, after initially being set to Off, the patient is sent an email invitation.
Login Using MFA
Attribute Type: Boolean
Whether or not the patient needs to use MFA to login to the BioT portal.
MFA Expiration Period
Attribute Type: Integer
The expiration period for the MFA token. This has both a Value range and a Normal range, but only the Value range is relevant. This field allows you to configure a different expiration period for different users. If not set, the default expiration value is 15 minutes.
Registration Source
Attribute Type: Single Select
How the patient came to register for BioT. Possible values are: Invitation, Self and Anonymous.
Username
Attribute Type: Label
The username for the patient.
Step 5 - Add Observation Fields
The Observation fields describe what kind of biomarkers and other point-in-time observations the system should store about the patient. The BioT platform does not come with any built-in observation fields, so any fields you need must be added when editing the template.
To add new observation fields:
- Select the Observations tab.
- Click + Add Observation Field.
- Click Please choose a name and enter a name for the new field.

Choosing a Field Name
- Click the Choose Type dropdown and select the attribute type from the list (see Attribute Types for a full list of types and their parameters).

Choose Attribute Type
- Complete the remaining parameters for the Attribute Type.
- If the field contains protected health information, select the PHI checkbox. When you do that, BioT adds additional safeguards for the field and refrains from storing or sending it to non-HIPAA Eligible media (e.g. using it in the content of an email) along with patient data.
- For fields you want to define as obligatory, select Required.

PHI and Required
Step 6 - Add Patient Alerts
Patient alerts enable you to build the data model of specific patient alerts. Patient alerts are generated via API requests, either by the device monitoring the patient or by a plugin that is notified whenever:
- A new patient "event" is recorded on the device, for example, a sharp heart rate change.
- The device fails to perform a routine, pre-defined action - for example, measuring the patient's blood pressure in a certain hour of the day.
By customizing alerts in the Patient template, you can define what kind of information will trigger an alert and when.
To add a new patient alert:
- Select the Patient Alerts tab.
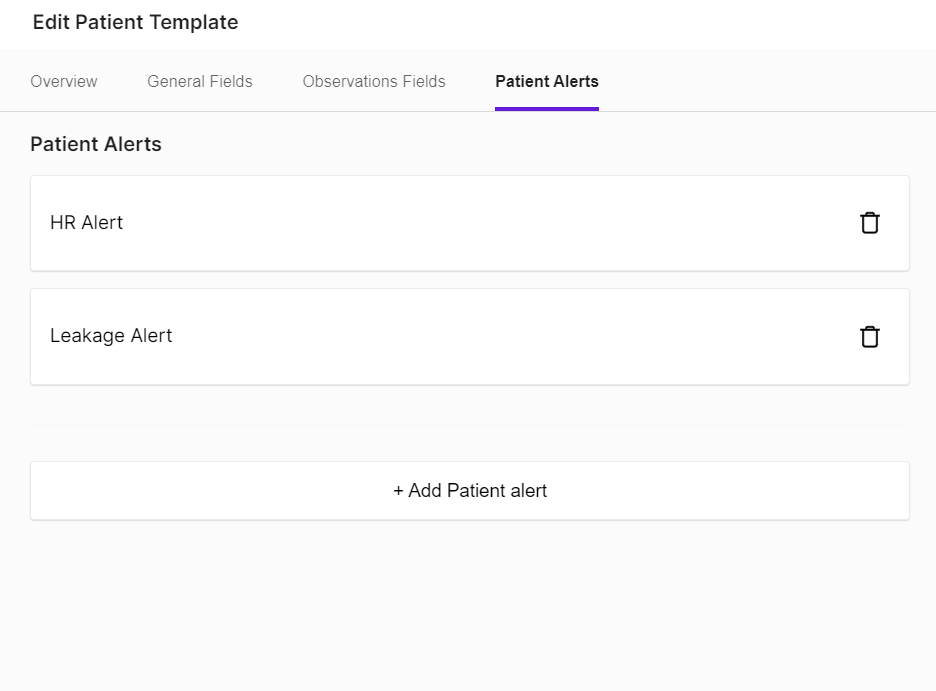
- Click +Add Patient Alert.
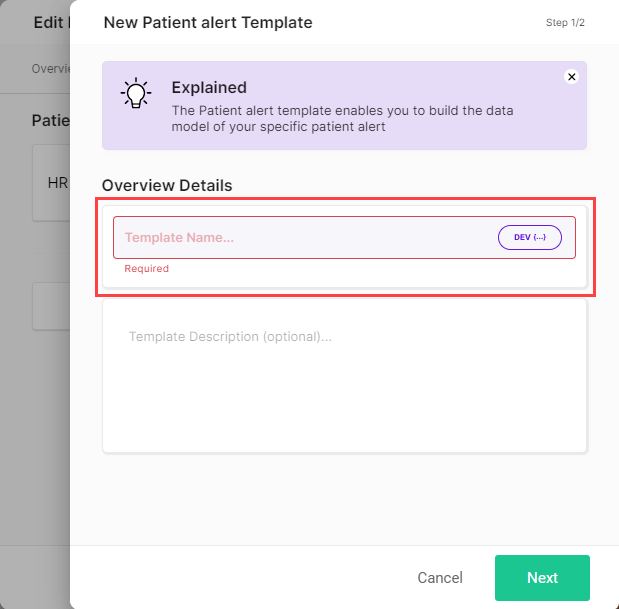
- Enter a name and optional description for the Patient Alert Template.
- Click Next.
- For fields you want to define as obligatory, select Required (see explanation on required fields in Add General Attributes).
- To add any additional fields, scroll to the bottom of the general fields list and click +Add General Field.
- Click Please choose a name and enter a name for the new field.
Choosing a Field Name
- Click the Choose Type dropdown and select the attribute type from the list (see Attribute Types for a full list of types and their parameters).
Choose Attribute Type
- Complete the remaining parameters for the Attribute Type.
- If the field contains protected health information, select the PHI checkbox. When you do that, BioT adds additional safeguards for the field and refrains from storing or sending it to non-HIPAA Eligible media (e.g. using it in the content of an email) along with patient data.
- Repeat steps 6-10 to add additional fields if needed.
- Click Create.
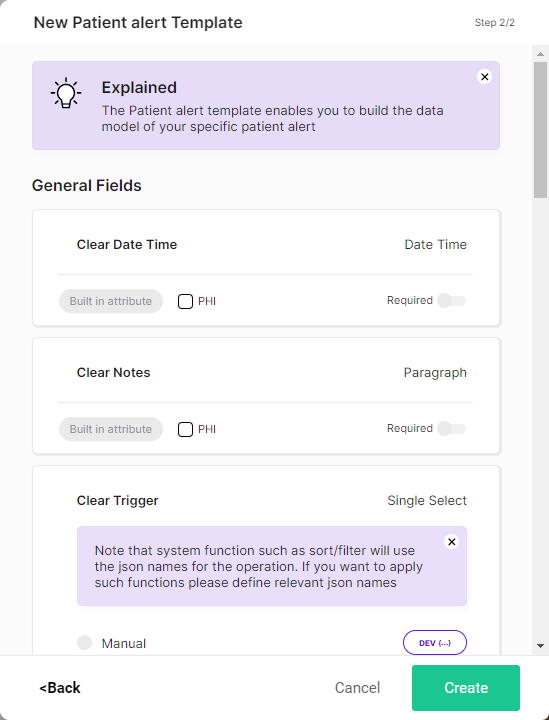
Default Patient Alert General Fields
The fields available by default in the Patient Alert General Fields are as follows:
| Field | Description |
|---|---|
| Clear Date Time | The date and time when the alert was marked as "Cleared". |
| Clear Notes | Any notes written down when the alert was cleared. |
| Clear Trigger | Whether the alert was cleared manually or automatically. |
| Cleared By | The name of the user who cleared the alert. |
| Creation Time | When the alert was created. |
| Last Modified Time | When the alert was last modified. |
| Owner Organization | The owner organization who manages the alerts. |
| Patient | The patient for whom the alert was triggered. |
| Set Date Time | When the alert was set. |
| Severity | The alert severity. Possible values are Critical, Major, Minor, and Info. |
| State | The current alert state. Possible values are Active, Cleared, and Suspended. |
Step 7 - Save Changes
Once you finish making changes to the template, click Save Changes.
You are returned to the template portal page.
NoteYou can click Cancel at any time to discard the changes and return to the templates list.
Updated 8 months ago